
Trophy Roadmap
Difficulty: 2/10
Estimated time to Platinum: 6 – 10 hours
Trophies: 39. ![]() 1 /
1 / ![]() 4 /
4 / ![]() 8 /
8 / ![]() 26
26
Missable trophies: Almost every nonstory related trophy (no chapter select)
Glitched trophies: 2 challenges required for Coaching Is Overrated can stop tracking progress, but it can be fixed
Difficulty related: None
Playthrough: 1
Introduction
Welcome to the Shadow Warrior 3 trophy guide!
Lo Wang is back in the third instalment of this action-packed first-person shooter and is ready to slay more yokai in his mission to find a way to stop the giant dragon that threatens to destroy the world, or rather what’s left of it. This guide is going to show you how to unlock every trophy and give you some general tips about the game.
Roadmap
Note: This game is pretty linear, so it doesn’t have free roam after finishing the story. There is no new game+ or chapter select either which means that almost every trophy (except story related trophies) is missable and would require another playthrough if you fail to unlock them.
Step 1: Finish The Story, Collect All Upgrades, Complete All Challenges And Miscellaneous Trophies
Beat the game and while doing so, collect all upgrades and start working on combat challenges as soon as you unlock them in Chapter 2. Also, you want to work towards all miscellaneous trophies as you won’t earn some of them after completing all combat challenges. Namely, you want to focus on performing 100 finishers as this probably won’t come naturally. For more information, check trophy descriptions below.
Tips and Strategies
Since there are no chapter select and new game +, make sure you get all collectibles in a level before finishing it. If you missed some of them and haven’t finished the chapter yet, you can always restart the level.
When upgrading your character , you probably want to focus on the ‘resources’ skill branch first. First 2 upgrades in this branch grant you ammo when you kill enemies with your katana and restore health when you hit someone with Chi-Blast. The third upgrade is also very useful as it gives you more Finisher Orbs when you kill enemies with environmental hazards and speeds up the process of performing 100 Finishers.
Work on combat challenges as soon as you unlock them. These will give you character and weapon upgrade points, but it is also important to make sure you finish them all before beating the story so you don’t have to start another playthrough and need to do them all over again.
Note: 2 combat challenges required for Coaching Is Overrated (Mr Doctor and Run&Gun) can stop tracking progress but it’s easy to fix. It is recommended to keep checking these 2 challenges and exit to the main menu if they stop working. After that you can press continue and they should start tracking properly again.
If you liked this guide, you’ll find more on our site.
You can also chat to our writers and friends by joining us on Discord with this link – Discord Invite
Trophy Guide
 My Precious! My Precious!  Collect all Trophies |
After earning all other trophies, you will unlock the platinum trophy.
 The End of the World The End of the World  Complete “The Dragon’s Back” |
You will unlock this trophy after completing the first chapter.
 Let Me In! LET ME IN! Let Me In! LET ME IN! Complete “Way to Motoko” |
You will unlock this trophy after completing the second chapter
 Down the Raccoon Hole Down the Raccoon Hole Complete “Motoko’s Thunderdome” |
You will unlock this trophy after completing the third chapter.
 Damn, That’s a Big Dam Damn, That’s a Big Dam Complete “That Damn Dam” |
You will unlock this trophy after completing the fourth chapter.
 Lo Wang, First of His Name Lo Wang, First of His Name Complete “Walking on Eggshells” |
You will unlock this trophy after completing the fifth chapter.
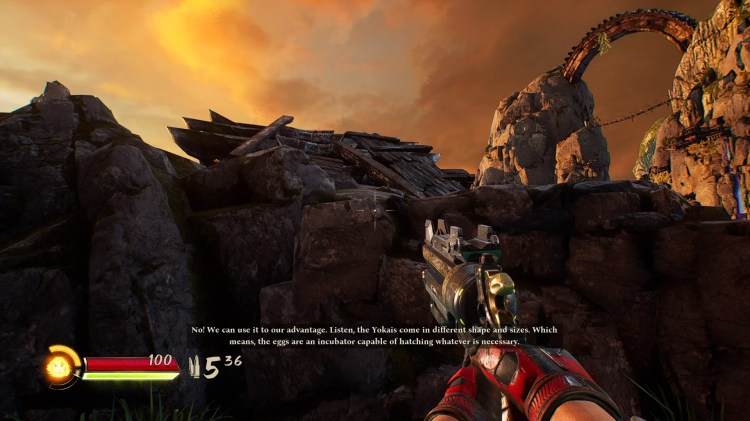
 I Don’t Have Friends, I Got Egg I Don’t Have Friends, I Got Egg Complete “Egg Express” |
You will unlock this trophy after completing the sixth chapter.
 Big-Laser-Gun-10000 Big-Laser-Gun-10000 Complete “Doomsday Device” |
You will unlock this trophy after completing the seventh chapter.
 Lookin For That Special Someone Lookin For That Special Someone Complete “Wayfarer’s Forest” |
You will unlock this trophy after completing the eighth chapter.
 Ski Pass Ski Pass Complete “The Fast and the Furry” |
You will unlock this trophy after completing the ninth chapter.
 Inside Out Inside Out  Complete “Midnight Snack” |
You will unlock this trophy after completing the tenth chapter.
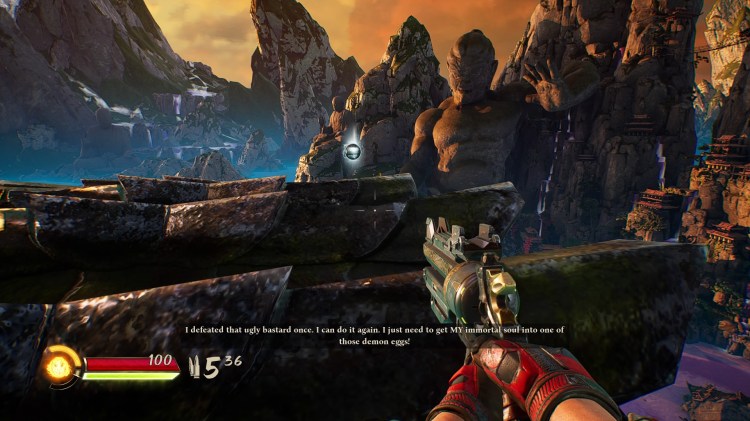
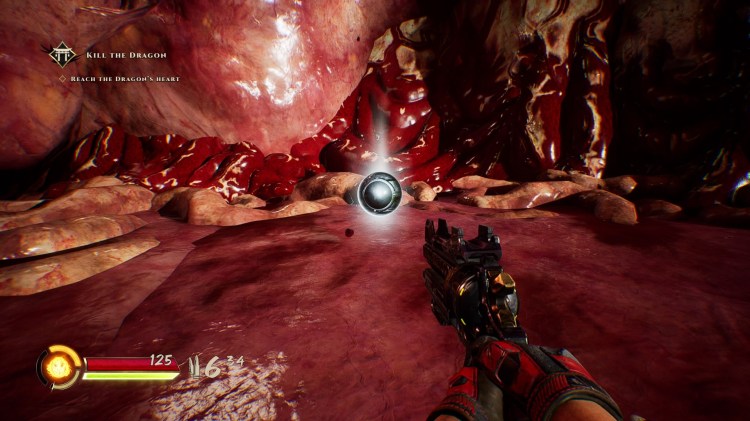
 Dragon Slayer Dragon Slayer  Complete “Intestinal Inspector” |
You will unlock this trophy after completing the eleventh chapter.
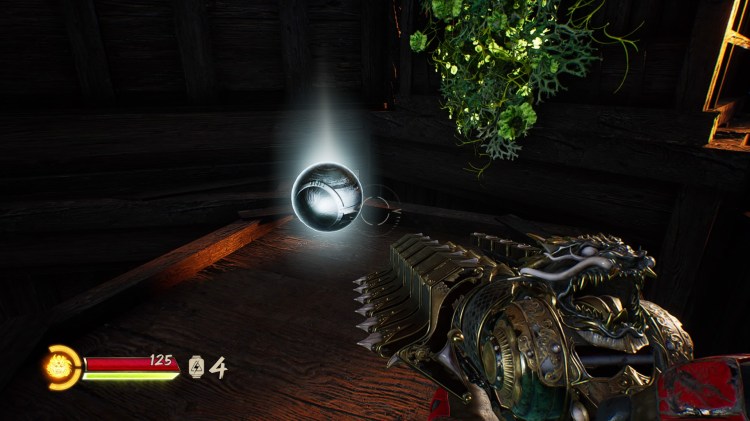
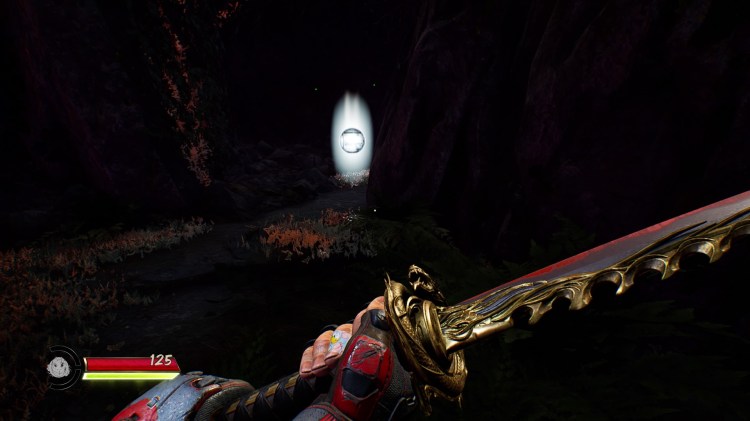
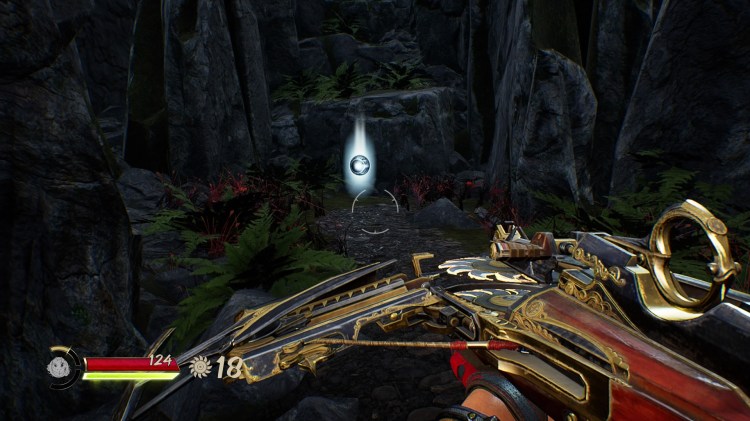
 Shiny! What Does It Do? Shiny! What Does It Do? Obtain your first upgrade |
You will find your first character and weapon upgrade points during the tutorial in Chapter 2. Simply use one of them to upgrade your weapon or character skill and the trophy will unlock.
 I’m Something of a Gunsmith Myself I’m Something of a Gunsmith Myself Fully upgrade a ranged weapon |
You need 7 weapon upgrade points to fully upgrade a ranged weapon. You will earn this trophy after using them to get all 3 upgrades for one of your ranged weapons.
 Master Smith Would Be Proud Master Smith Would Be Proud Fully upgrade the katana |
Same as ranged weapons, fully upgrading the katana requires 7 weapon upgrade points to purchase all 3 upgrades.
 Awake Your Inner Wang Awake Your Inner Wang Fully upgrade one character skill branch |
Fully upgrading one character skill branch requires 7-character upgrade points. Upon purchasing all 3 upgrades you will earn this trophy.
 Surgeon Surgeon Perform Finisher 15 times |
See ![]() Executioner.
Executioner.
 Executioner Executioner Perform Finisher 100 times |
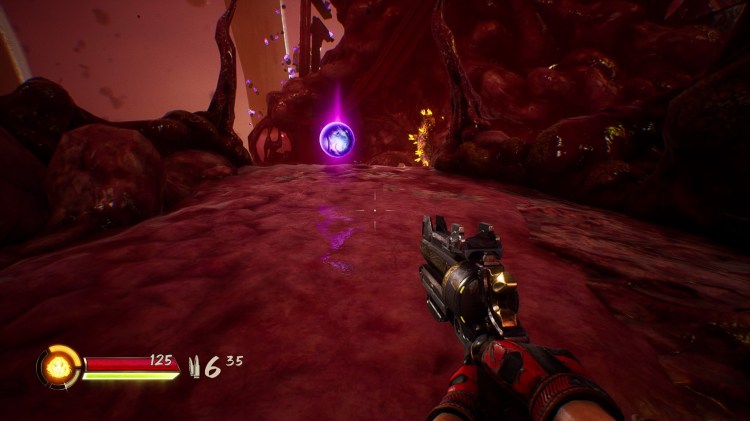
Finishers are instant kill moves you can perform on enemies by pressing L1 and R1 at the same time. Each Finisher costs 1,2 or 3 Finisher bars depending on the enemy. These bars can be refilled by collecting Finisher Orbs dropped by enemies killed by environmental hazards (explosive barrels, spikes, traps…). Try to use Finishers on smaller enemies as they cost only 1 Finisher bar, but also make sure that you get 100 kills using Gore Tools for Gore Master. You can farm this in combat arenas that have hazards that can kill you instantly as long as you start with full Finisher bars. Just use your Finishers, die to a hazard and repeat.
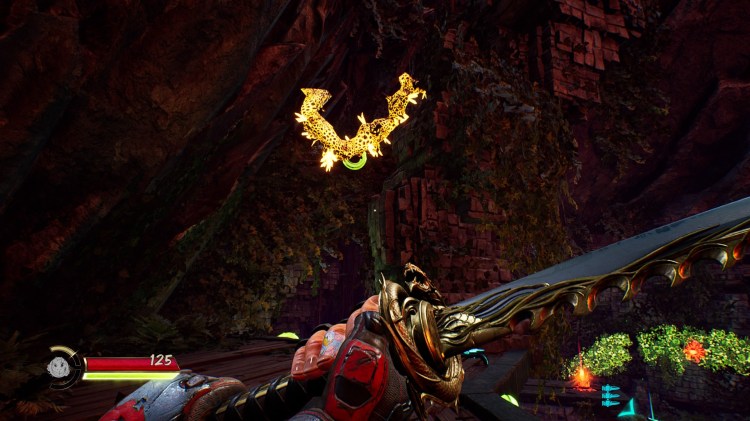
 Show Me What You’re Made Of Show Me What You’re Made Of Obtain all Gore Tool types |
There are 10 Gore Tool types in the game and each one has a trophy tied to it. They can be obtained by performing Finishers on enemies and give you buffs or can be used as a weapon depending on the enemy. Each time you encounter a new enemy type, your bars will get refilled so you can perform a Finisher on them. For more information, check individual trophy descriptions below.
 Samurai Samurai Kill 100 enemies with the katana |
You can use your katana with R1. This shouldn’t be an issue because you will be using your katana often to get ammo for your other weapons.
 Acupuncture Acupuncture Put 50 enemies on spikes |
While playing you will find spikes on the walls that you can push enemies into using Chi-Blast by pressing R3. I recommend farming this early on, because it probably won’t come naturally. You can make it easier by purchasing upgrades that allow you to push more than 1 enemy at the same time and regenerate your Chi faster.
 Cool Guys Don’t Look at Explosions Cool Guys Don’t Look at Explosions Explode 50 explodables |
You will find many different explodables in this game (dynamite, fire barrels, ice barrels…) and some combat challenges require you to kill enemies in this way. Just make sure to shoot them as it seems that pushing them into your enemies with Chi-Blast doesn’t count.
 Gore Master Gore Master Kill 100 enemies with Gore Weapons |
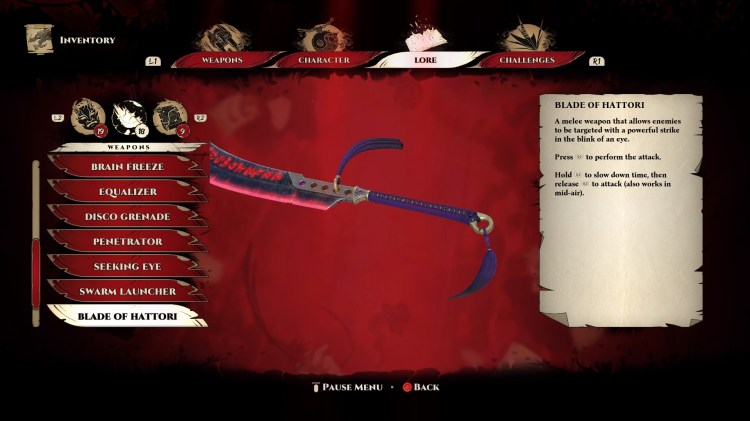
Gore Weapons are tools obtained by performing Finishers on bigger enemies that require 2 or 3 Finisher bars. Gore Tools obtained from smaller enemies can’t be used to get kills as one of them increases your health and the other can only freeze your enemies. The Blade of Hattori is the best weapon for this because it can teleport you to your enemies and kill them quickly. This shouldn’t pose much of a problem as long as you make good use of Gore Weapons and use them in combat arenas full of enemies to get the most value out of them.
 Don’t Come Closer Don’t Come Closer Kill 200 enemies |
You will need to kill more than 200 enemies to finish this game so this trophy will be easy to obtain.
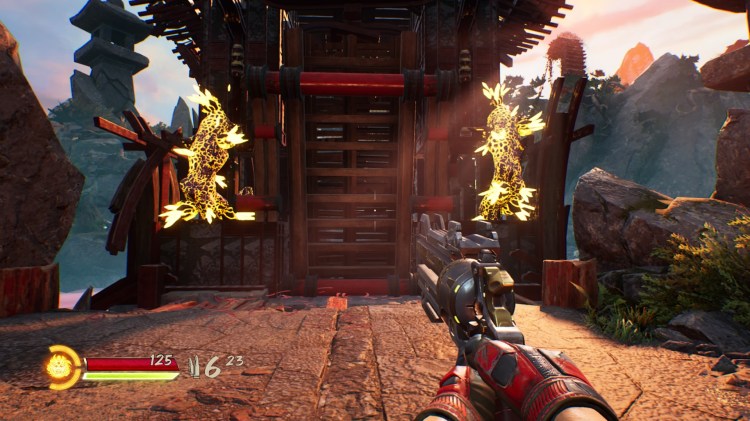
 Set the World on Fire Set the World on Fire Set 25 enemies on fire |
You can do this by shooting fire barrels near enemies or rapidly shooting your fully upgraded revolver (The Outlaw). When fully upgraded it will set enemies on fire if shot in quick succession. You will know it’s working once you see flames coming out of the gun.
 Baddies Go ‘BZZZZZ’ Baddies Go ‘BZZZZZ’ Electrocute 50 enemies (without Motoko’s help) |
You can electrocute enemies by shooting yellow barrels next to them or by getting the second upgrade for your machine guns (Sidekicks). This allows them to electrocute enemies when shooting them continuously. Also, after purchasing their final upgrade, enemies killed by Sidekicks will leave a Thunder Trap that can damage and electrocute enemies within its range.
 -273 Kelvin -273 Kelvin Freeze 75 enemies |
In order to freeze enemies, you can shoot ice barrels or use the fully upgraded railgun (Basilisk) which when shot at an enemy, freezes all enemies around them. You can also use the “Brain Freeze” Gore Tool, obtained from Kugutsu, which can be thrown at enemies.
 It’s Dangerous Out There It’s Dangerous Out There Kill 150 enemies with environmental hazards |
Environmental hazards can be any form of killing that doesn’t come directly from your guns or katana. This includes explodables, spikes, pushing enemies off the ledge and traps that are activated by shooting switches. You will do this a lot during your playthrough so it should come naturally.
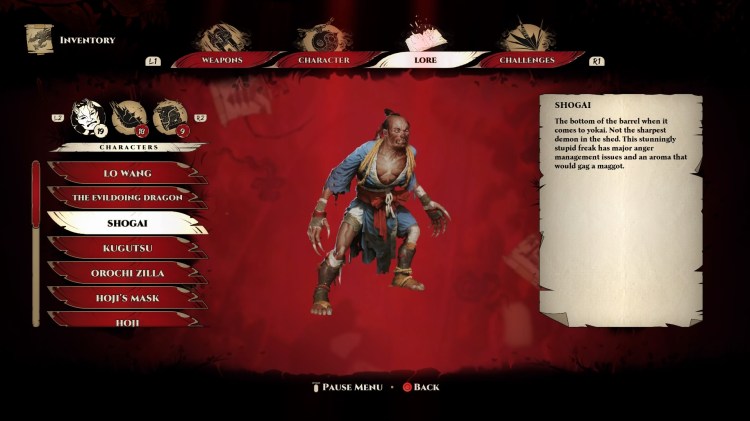
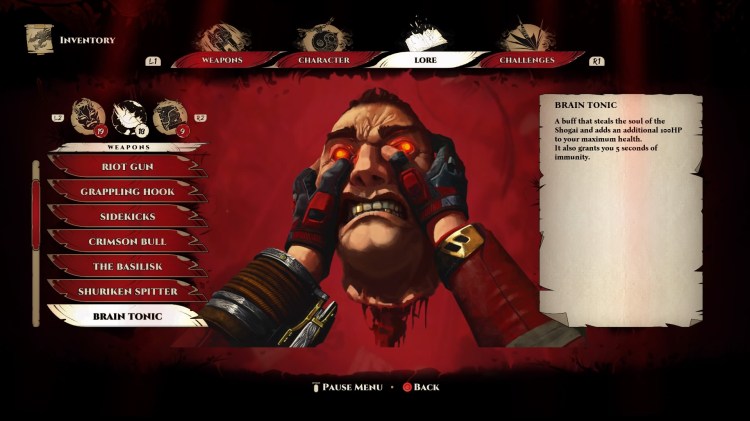
 Caution! Watch Your Head Caution! Watch Your Head Obtain the “Brain Tonic” Gore Tool from Shogai |
Shogai are basic melee yokai, first encountered in Chapter 1. Performing Finisher on them costs 1 bar and will give you the “Brain Tonic” Gore Tool which increases your health by 100 and also grants you 5 seconds of immunity.
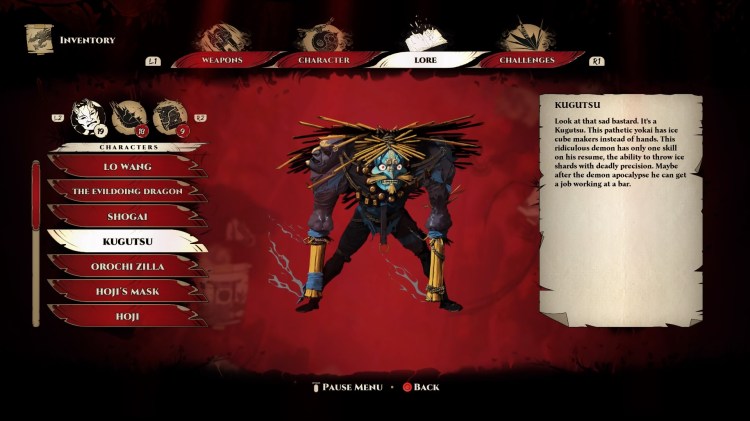
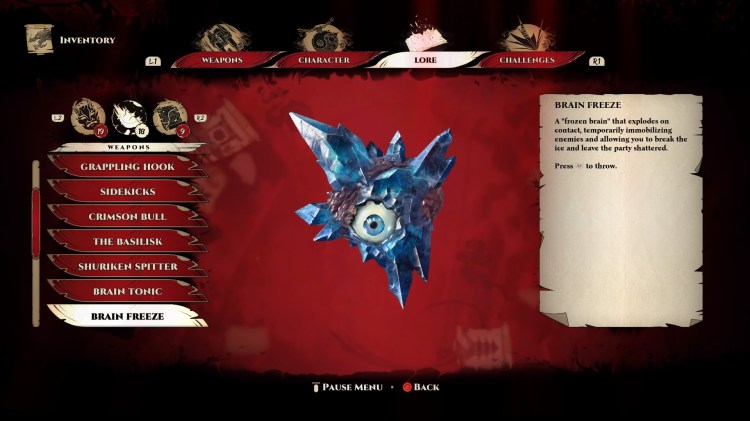
 A Cold Day in Hell A Cold Day in Hell Obtain the “Brain Freeze” Gore Tool from Kugutsu |
Kugutsu are ranged yokai that throw ice shards at you and sometimes use balloons, first encountered in Chapter 1. You can perform Finisher on them which will cost 1 bar and give you the “Brain Freeze” Gore Tool which freezes enemies when thrown.
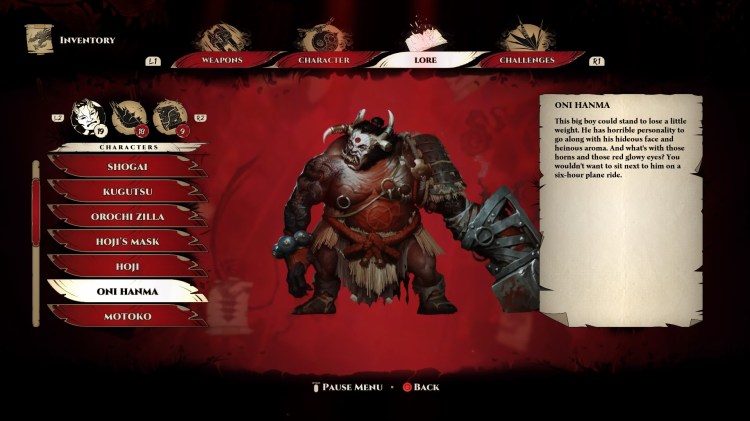
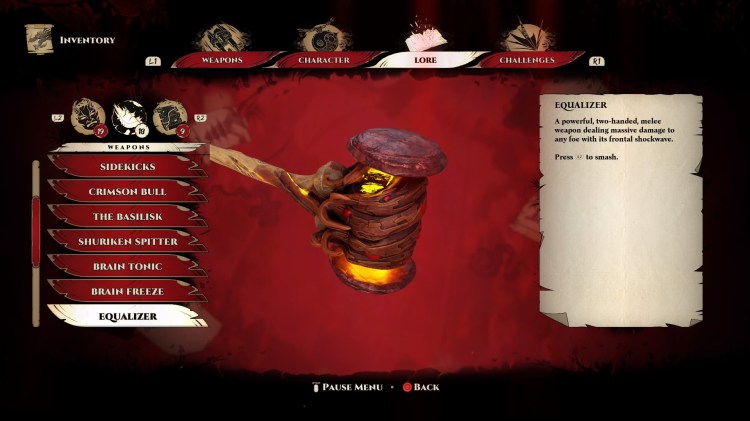
 Stop! Hammertime! Stop! Hammertime! Obtain the “Equalizer” Gore Tool from Oni Hanma |
Oni Hanma are big hammer-wielding yokai, first encountered in Chapter 2. By performing Finisher on them (costs 2 bars) you can obtain the “Equalizer” Gore Tool. This is a big hammer that can be used to crush enemies in front of you.
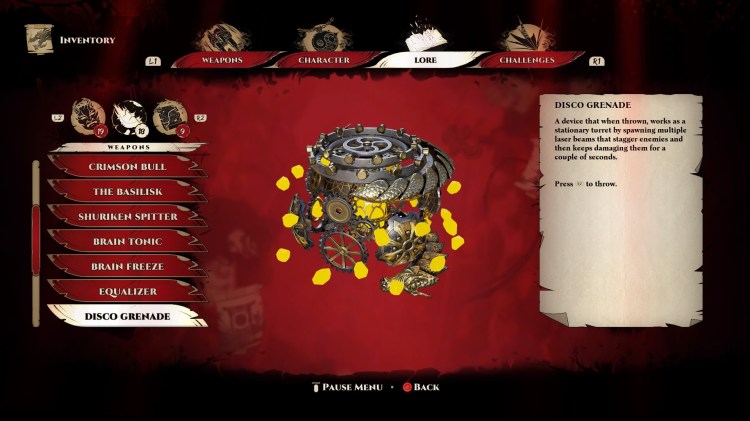
 Disco Inferno Disco Inferno Obtain the “Disco Grenade” Gore Tool from Laser Shogun |
Laser Shogun are flying yokai that shoot lasers at you, first encountered in Chapter 3. You can perform Finisher on them (costs 2 bars) to obtain the “Disco Grenade” Gore Tool. When thrown, this grenade shoots lasers that stagger and damage every enemy in its range.

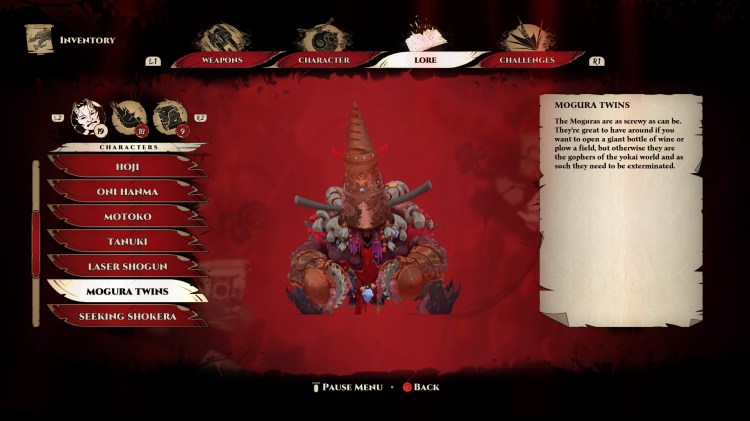
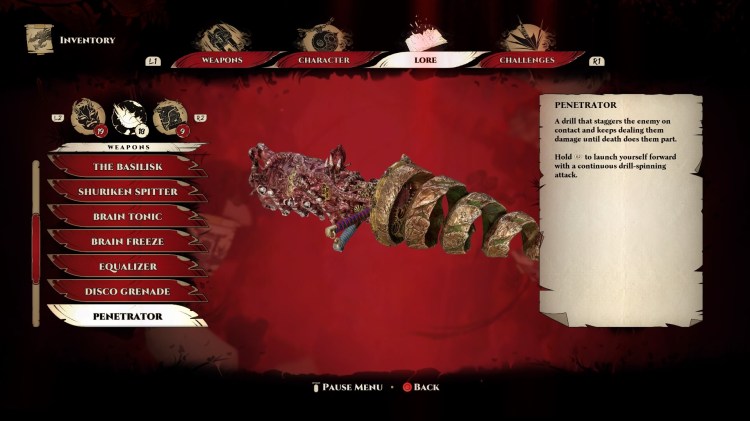
 Anyone Has a Corkscrew? Anyone Has a Corkscrew? Obtain the “Penetrator” Gore Tool from Mogura |
Mogura are mole-like, drilling yokai, first encountered in Chapter 3. You can perform Finisher on them (costs 2 bars) to obtain the “Penetrator” Gore Tool. This is a big drill that deals a lot of damage to enemies but is hard to control.
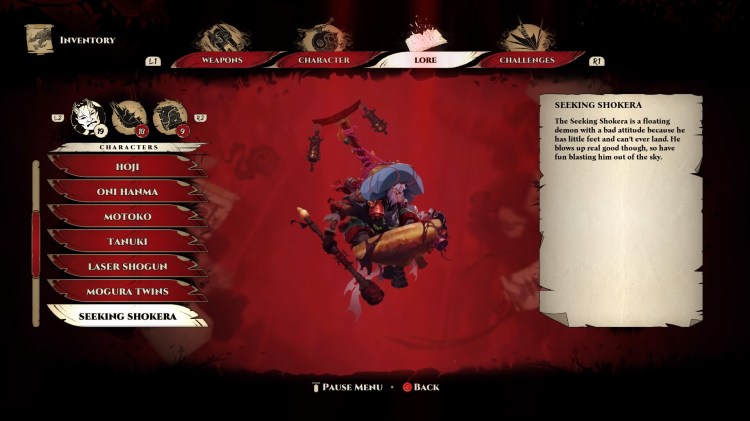
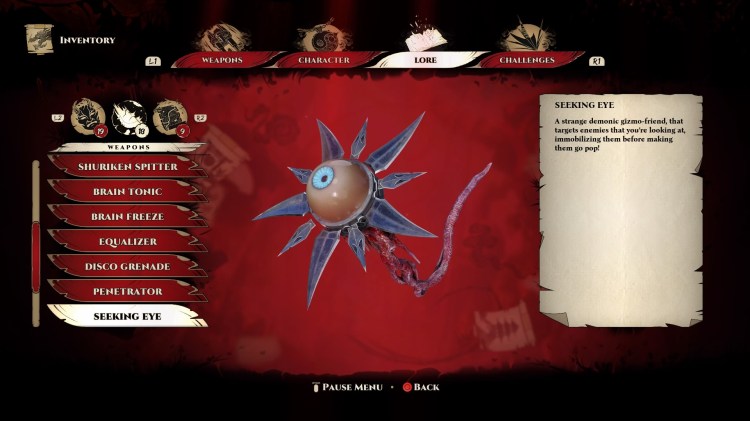
 Eye See You! Eye See You! Obtain the “Seeking Eye” Gore Tool from Seeking Shokera |
Seeking Shokera are flying mage yokai, first encountered in Chapter 4. You can perform Finisher on them (costs 2 bars) to obtain the “Seeking Eye” Gore Tool. This is an eye with blades that will immobilize and damage an enemy that you are looking at.
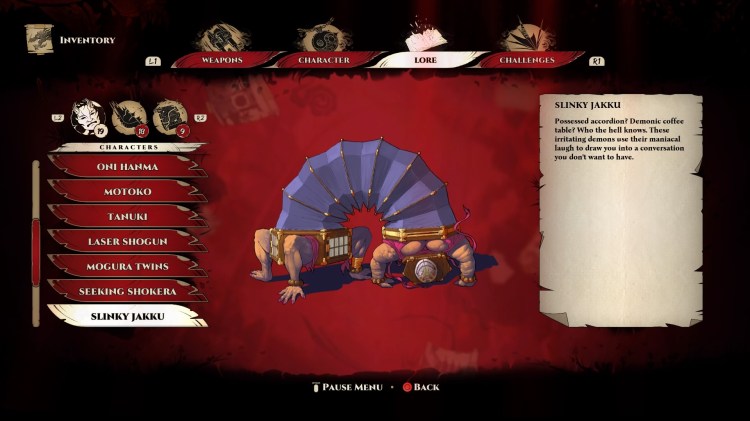
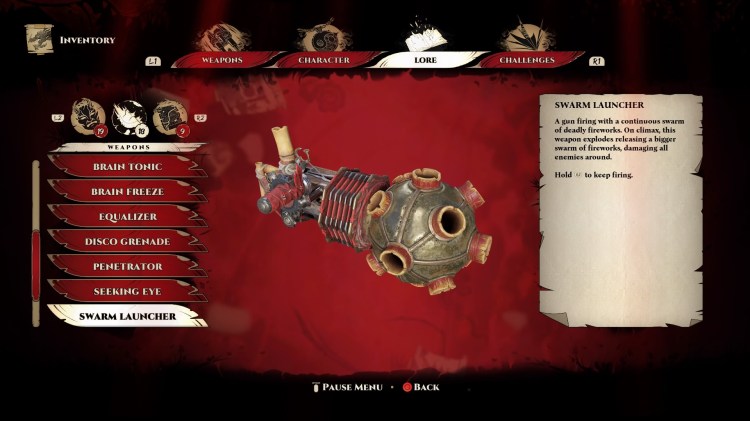
 New Year Has Come Early New Year Has Come Early Obtain the “Swarm Launcher” Gore Tool from Slinky Jakku |
Slinky Jakku are, as their name suggests, slinky yokai, first encountered in Chapter 4. You can perform Finisher on them (costs 2 bars) to obtain the “Swarm Launcher” Gore Tool. This is a launcher that shoots fireworks and eventually explodes damaging all enemies around.
 Your Sword is Mine! Your Sword is Mine! Obtain the “Blade of Hattori” Gore Tool from Hattori |
Hattori are the sword-wielding yokai, first encountered in Chapter 5. You can perform Finisher on them (costs 2 bars) to obtain the “Blade of Hattori” Gore Tool. This is a big sword that lets you slow down time and dash to enemies. This is the best weapon for farming Gore Weapon kills.

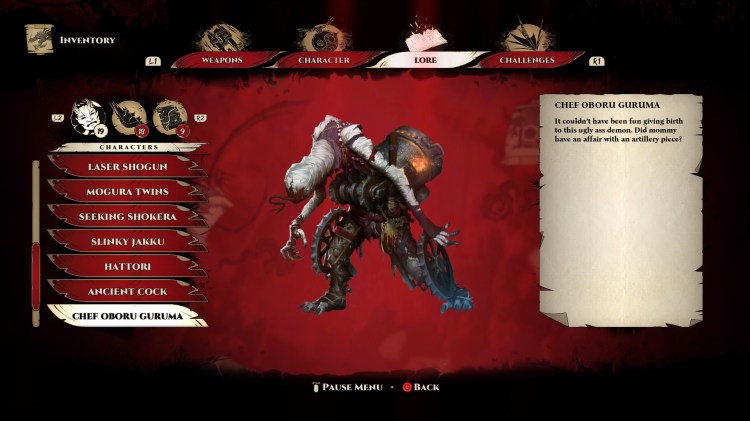
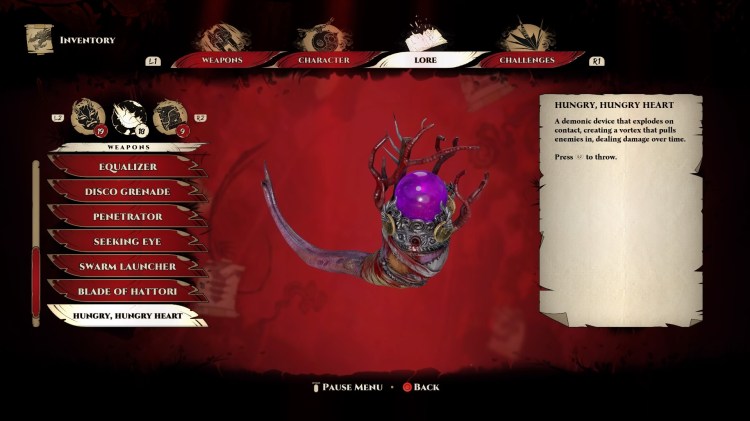
 What You’re Cooking Here? What You’re Cooking Here? Obtain the “Hungry, Hungry Heart” Gore Tool from Chef Oboru Guruma |
Chef Oboru Guruma are yokai that drop mines, first encountered in Chapter 7. You can perform Finisher on them (costs 2 bars) to obtain the “Hungry Heart” Gore Tool. When thrown, this grenade pulls enemies in, dealing damage over time.
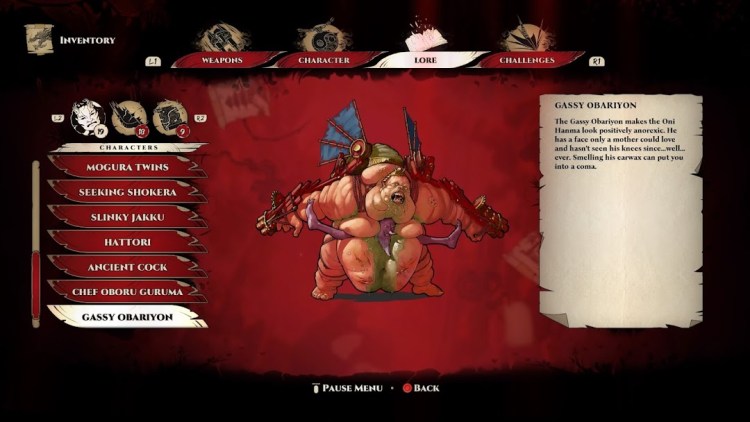
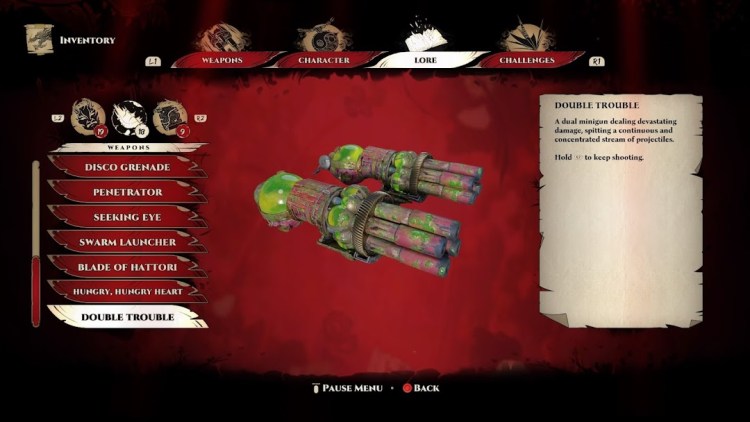
 Size Does Matter Size Does Matter Obtain the “Double Trouble” Gore Tool from Gassy Obariyon |
Gassy Obariyon are big yokai with 2 miniguns, first encountered in Chapter 9. You can perform Finisher on them (costs 3 bars) to obtain the “Double Trouble” Gore Tool. Dual minigun dealing a lot of damage, very powerful weapon but also very expensive at 3 Finisher bars.
 Coaching Is Overrated Coaching Is Overrated Obtain all upgrades |
In order to unlock all upgrades, you will have to obtain 77 upgrade points (49 weapon upgrade points and 28-character upgrade points). You can get 19 of these from combat challenges, while the remaining 58 can be found throughout the world in the form of collectibles. Below is all the info needed to obtain this one.
Coaching Is Overrated Information
Combat Challenges
Note: Mr. Doctor and Run&Gun can stop tracking progress, but this can be fixed by exiting to the main menu and continuing from there. It is recommended to keep checking them so you can prevent this from happening.
If you want to farm any of the challenges, you can simply restart the checkpoint. You don’t have to worry because your progress will be saved.
Blademaster – Kill 100 enemies with the katana. Katana is your melee weapon that you can use with R1. You will use it a lot to get more ammo so this won’t be an issue.
Danger Zone – Kill at least 2 enemies with single Crimson Bull projectile 15 times. This is your grenade launcher. Simply aim at the group of enemies to easily finish this challenge.
Staggered – Stagger 50 enemies using Shuriken Spitter. This weapon fires shurikens that stagger enemies on impact. Hit 50 enemies to finish this challenge.
Multi-Strike – Kill at least 2 enemies with katana strike 15 times. It is recommended to upgrade your katana so you can hold R1 for heavy attack and use elemental attacks that will make this challenge much easier.
CQC – Kill 50 enemies with the Riot Gun while at very close range. This is your shotgun which can kill smaller enemies in one shot when they are close, so you can just let melee enemies come to you and shoot them when they are really close to you.
Bullseye – Headshot kill 25 enemies using The Outlaw. This one is very simple, just use your revolver and aim for the head.
Multi-Tasking – In 5 seconds or less, kill at least 3 enemies in different ways: using the katana, a ranged weapon and an environmental hazard. You will probably complete this challenge without even trying. For example, you can shoot an explosive barrel, shoot an enemy and kill another enemy with your katana.
Target Practice – Kill 25 Kugutsu demons on balloons before they land. Another easy one, just shoot them while they are in the air. Don’t shoot the balloons though because this will make them fall on the ground and won’t count.
Death From Above – While in mid-air, kill an enemy with The Basilisk 5 times. The Basilisk is a railgun which requires holding R2 to charge before it fires. This is why it’s recommended to farm this in a combat arena with a grapple point which you can use to get enough air time to fully charge and aim your shot.
Mr. Doctor – Heal yourself by a total value of 5000 hp. You can heal yourself by collecting health pick-ups, performing Finishers, using upgraded Chi-Blast on enemies or purchasing a character upgrade that allows you to regenerate health. This challenge can sometimes break and stop tracking your progress. If this happens to you, exit to the main menu and press continue.
Survivor – Kill 25 enemies while being low on health. Let your health drop below 10 and keep killing enemies until you finish this challenge.
Gore Tool Sensei – Kill 100 enemies using Gore Tools. Check Gore Master for more information.
Ammo Harvester – Gather 100 ammo packs. You will complete this challenge by playing normally as you will find many ammo packs in the game.
One Punch Wang – Push away enemies with the Chi-Blast 100 times. You can use your Chi-Blast by pressing R3. The upgrade that reduces the cooldown of Chi-Blast can speed this up significantly.
Dodge This – Kill 50 enemies with fire barrels explosions. Shoot red barrels whenever there are enemies nearby and you will easily complete this challenge.
Mind Your Step! – Kill 10 enemies by pushing them off the ledge with the Chi-Blast. This challenge is very simple and you will complete it quickly as long as you don’t forget about it.
Face-2-Face – Kill 25 enemies shortly after using a grappling hook on them. Grapple to one of the smaller enemies and shoot them with your shotgun. Shotgun is the best for this because it can kill them in one shot and doesn’t require you to aim since you are so close to them.
Run&Gun – Kill 10 enemies shortly after a wallrun. This challenge requires you to wallrun, jump off and kill an enemy. I recommend using the shotgun as it can kill smaller enemies quickly and doesn’t require precise aim if you are close enough. This challenge can break and stop tracking progress. If this happens to you, exit to the main menu and continue from there.
Debuffed – Kill 50 enemies affected by electric and ice barrels. You probably won’t complete this challenge by playing naturally so try and always shoot blue and yellow barrels when enemies are around. Also, make sure to kill them while they are still frozen/electrocuted, otherwise the kills won’t count.
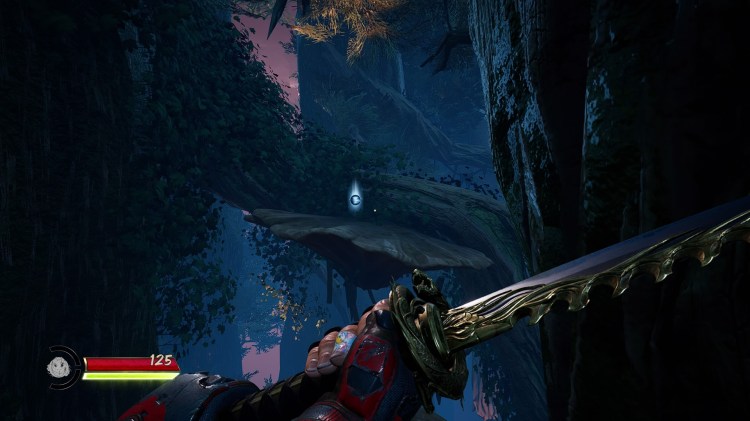
Collectibles
Note: If you missed any collectibles in a chapter and can’t bactrack to them, you can restart the level as long as you haven’t finished it yet. You don’t have to worry about any collectibles you already collected because those will be saved.
Chapter 1: “The Dragon’s Back”
There are no collectibles in this chapter.
Chapter 2: “Way to Motoko”
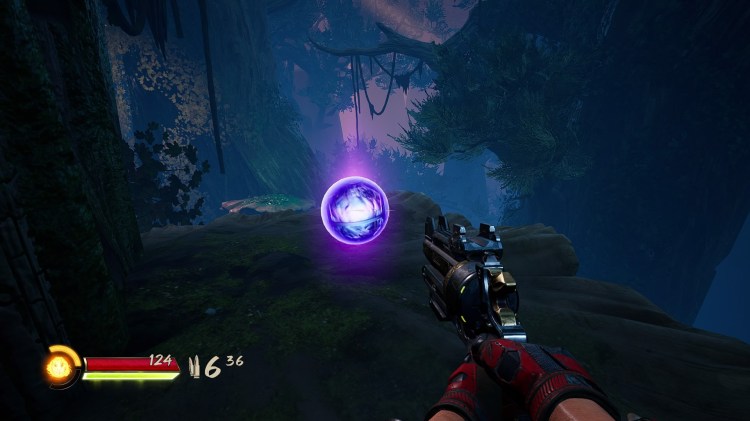
Character Upgrade #1
At the beginning of the chapter, you will get a character upgrade tutorial message.

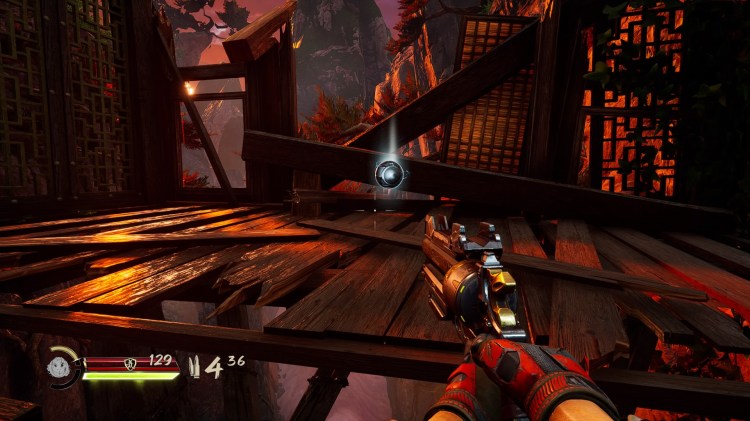
Weapon Upgrade#1
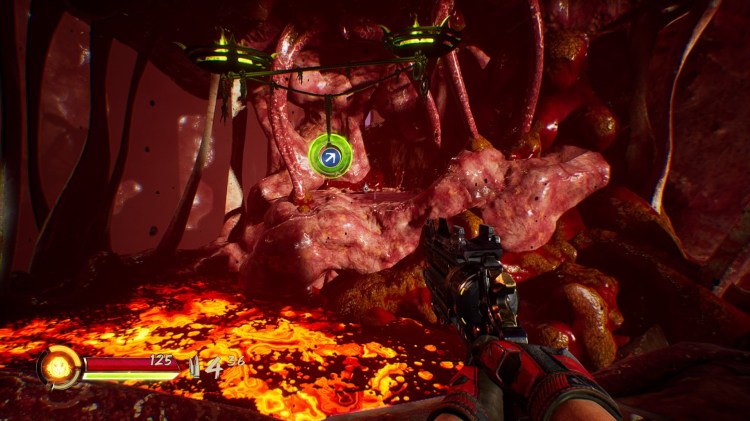
You will find this on your path after obtaining the grapple hook. A tutorial message for weapon upgrade will appear when you get close.

Weapon Upgrade #2
After you fall through the floor and slide down, there will be a cutscene. Instead of following the story path to the left, turn to your right and drop down to find this weapon upgrade.
Character Upgrade #2
This character upgrade will be directly on your path after you finish the combat arena where you unlock combat challenges.

Character Upgrade #3
Immediately after the previous character upgrade, you will have to slide down and wallrun to reach another platform. Instead of moving forward, turn around and you will see it behind you.

Chapter 3: “Motoko’s Thunderdome”
Weapon Upgrade #3
You will be chasing the Tanuki at the start of the chapter. After the second wallrun, stop and turn to the right to find a ledge you can climb. Follow this path and wallrun once again to reach the weapon upgrade.
Weapon Upgrade #4
This upgrade will be on the story path after the first combat arena in this chapter.

Weapon Upgrade #5
When the Tanuki jumps into the water, take the path to the left instead of following it. You will have to wallrun and climb up to a ledge to reach this upgrade.
Character Upgrade #4
Later in this chapter, you will have to double wallrun to progress and this character upgrade will be directly in front of you.

Weapon Upgrade #6
Once you reach a big tree, drop down behind it to find this weapon upgrade.
Chapter 4: “That Damn Dam”
Character Upgrade #5
When you reach the top of the tower, instead of going outside to the right, keep moving forward and go through a gap to find this upgrade.
Weapon Upgrade #7
After obtaining The Basilisk, you will see a grapple point in front of you. Ignore it and go through a tunnel to your right to reach the weapon upgrade.

Weapon Upgrade #8
After the previous upgrade, grapple to the other side and keep going until you can climb on top of the arch the grapple point you just used is attached to.
Character Upgrade #6
Shortly after the previous upgrade, you will find this character upgrade on a wooden walkway where 3 kugutsu will spawn.
Weapon Upgrade #9
Shortly after the previous upgrade, you will find this upgrade directly on your path.

Weapon Upgrade #10
When you get to the top of the dam and enter the building, turn to the left and go through a gap in the wall and climb up to reach this upgrade.
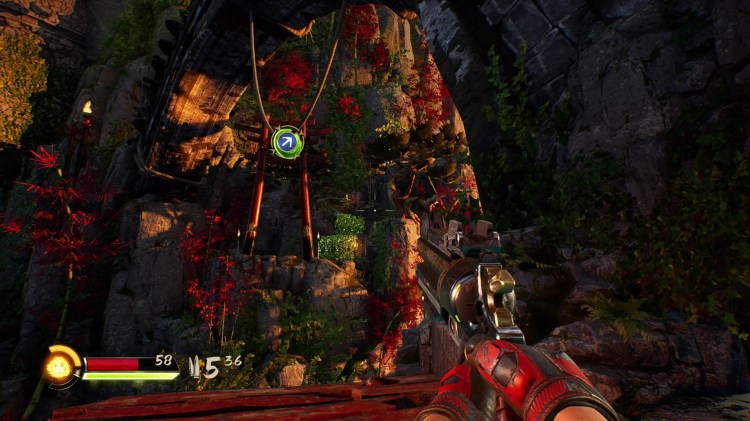
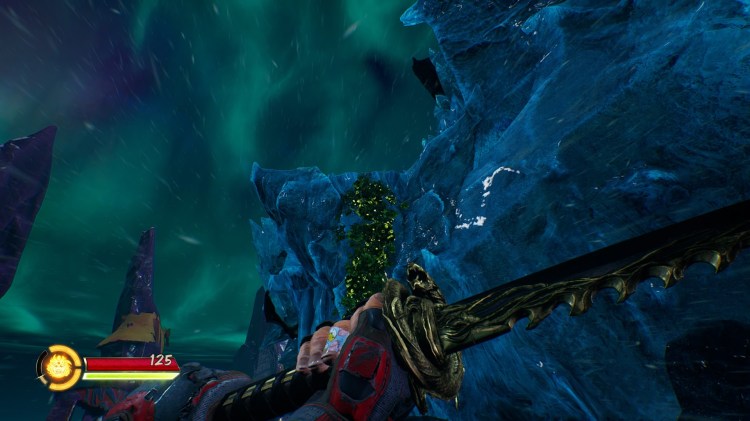
Chapter 5: “Walking on Eggshells”
Weapon Upgrade #11
At the start of the chapter, after the second wallrun, you will reach a platform with rabbits on it. Turn left to find a wall you can climb and the upgrade will be at the top.
Weapon Upgrade #12
Inside the first combat arena, climb up a ledge to the right after you kill all enemies and there will be a vine you can shoot. Shoot this vine and grapple up to find this upgrade.
Character Upgrade #7
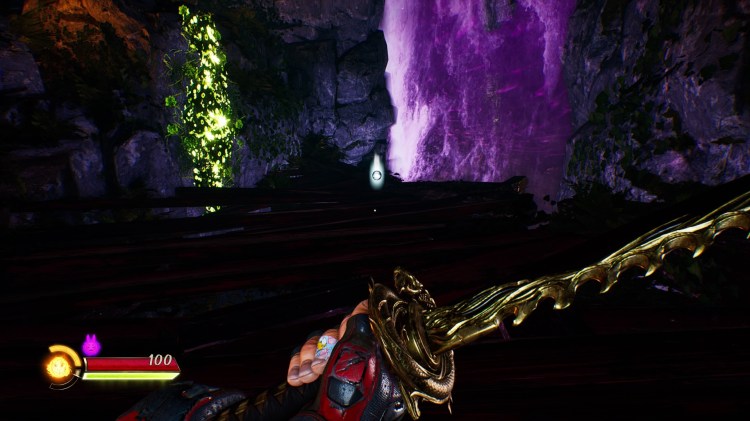
Once you reach the big purple cave area, wallrun to progress and immediately look up to find a grapple point. Grapple up and wallrun again to reach the character upgrade.
Weapon Upgrade #13
Inside the second combat arena, you will find 3 switches you can shoot that lower the platforms for a few seconds. Keep jumping from one to another until you reach the third platform. Instead of going forward and continuing down the story path, wait for the platform to rise up and climb inside the building to your right where you will find this upgrade.
Weapon Upgrade #14
Shortly after the previous upgrade, you will find this one directly on your path.
Weapon Upgrade #15
In the combat arena where you encounter Hattori (yokai with a big sword) for the first time, shoot the switch on the right to lower the platform and stand on it until it goes up again. Follow the path and you will see the upgrade on the opposite side. Double jump and dash in order to reach it.
Weapon Upgrade #16
In the bamboo forest where you obtain Shuriken Spitter, follow the path to the right to find this upgrade.
Weapon Upgrade #17
This upgrade will be on the story path. Go around the building and shoot some vines to open the door. Then go inside, climb up and jump to the platform on the other side.


Weapon Upgrade #18
After the previous upgrade, you will reach a combat arena. Deal with the enemies and you will see a wallrun around the back and some vines that you can shoot to reveal a small alcove. Jump from the wallrun to get inside the alcove and find this weapon upgrade.

Weapon Upgrade #19
In the same arena as the previous upgrade, you will have to shoot 2 vines to lower the bridge. Once on the bridge, look to your left and you will see another vine you can shoot. Shoot it and use the wallrun to reach this upgrade.

Character Upgrade #8
After crossing the bridge, you will see a large statue and the upgrade directly in front of it.
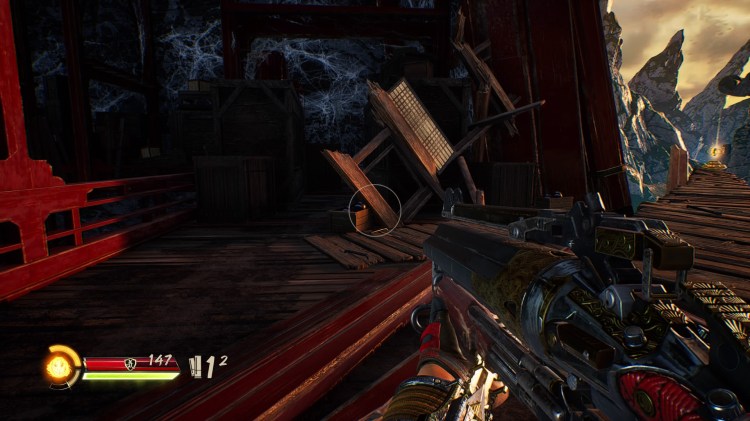
Chapter 6: “Egg Express”
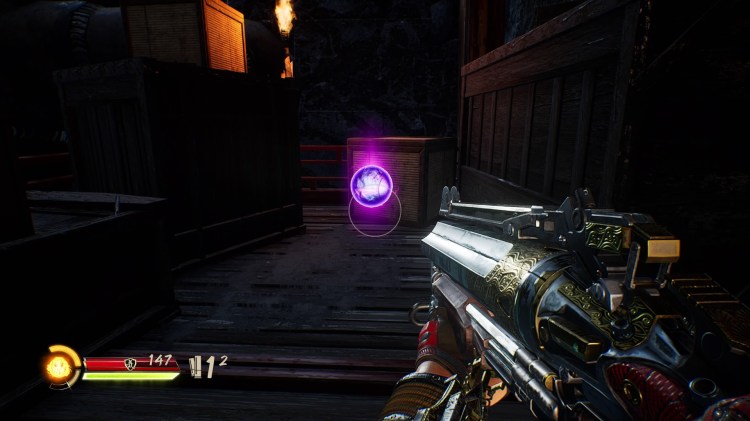
Weapon Upgrade #20
Once you get off the raft for the first time and fight some enemies, jump on a rock to the right and use your grapple hook to obtain this upgrade.

Weapon Upgrade #21
After the previous upgrade, you will enter a combat arena. When all enemies are dead, climb up and the upgrade will be in front of you.
Weapon Upgrade #22
Immediately after the previous upgrade, don’t jump down to the raft just yet. Turn to the right instead and climb up. Follow the path until you reach a vine that you can shoot. Shoot this vine and grapple up to reach the upgrade.
Character Upgrade #9
When you get to the raft, you will eventually reach a waterfall and see 2 grapple points in front of you. Jump off to the right instead and follow the path to find the character upgrade. Alternatively, you can use the first grapple point and turn to the right to find another grapple point you can use to reach this upgrade.
Character Upgrade #10
Later on, you will be jumping across a broken bridge and this upgrade will be right in front of you.

Weapon Upgrade #23
Shortly after the previous upgrade, you will reach a dog statue. Head past this statue to find a path to the left. Follow this path and jump across to reach the upgrade.
Chapter 7: “Doomsday Device”
Weapon Upgrade #24
After the first combat arena, you will climb some stairs. Instead of moving forward, turn to your left to find a weapon upgrade in a small cave.
Weapon Upgrade #25
After the previous upgrade, you will grapple across and this upgrade will be directly in front of you.

Character Upgrade #11
After the combat arena where you encounter Chef Oboru Guruma for the first time, you will have to jump across some platforms that you need to shoot first. After jumping off the second platform, turn around and you will see a wall you can climb. Climb up into the tower to find this upgrade.


Character Upgrade #12
When you reach the third device that you need to activate, go down some stairs behind the device to find a character upgrade.

Weapon Upgrade #26
After the previous upgrade, head towards the Doomsday Device and drop down where the fence is broken. Follow this path to find the upgrade.

Chapter 8: “Wayfarer’s Forest”
Weapon Upgrade #27
At the start of the chapter, you will jump from a cliff and find this upgrade directly in front of you.

Weapon Upgrade #28
After using the second grapple point, turn around and you will see a big mushroom you can jump on. Follow this path to find a weapon upgrade.
Weapon Upgrade #29
You will find this upgrade directly on your path after fighting some enemies.

Character Upgrade #13
Immediately after the last upgrade, turn to your right to find more big mushrooms. Jump on them and follow the path to find a character upgrade.

Character Upgrade #14
Later on, you will use a grapple point and this upgrade will be right in front of you once you land.

Weapon Upgrade #30
You will eventually reach a grapple point and a big tree trunk you can climb. When you reach the top, turn around and jump on some mushroom caps. Then drop down to find this upgrade.

Chapter 9: “The Fast and the Furry”
Weapon Upgrade #31
When you finish the first combat arena in this chapter, there will be a cutscene. Follow the path and you will reach a wallrun. The upgrade will be directly in front of you.
Weapon Upgrade #32
After finishing the combat arena where you first encounter Gassy Obariyon, continue until you reach a wallrun. Before crossing it, turn to the left and follow the path to find a weapon upgrade.
Weapon Upgrade #33
When you shoot vines that hold a dragon statue, there will be a cutscene. Immediately after this, you will find the upgrade on a platform in front of you.

Character Upgrade #15
Immediately after the last upgrade, turn around and jump across the gap. Head inside the building where you will find a character upgrade.


Character Upgrade #16
After finishing another combat arena and crossing several wallruns, you will find this upgrade directly on your path.

Weapon Upgrade #34
Shortly after the previous upgrade you will see a dragon in the sky and a platform in front of you. There will be a ledge on the right side of this platform where you can find a weapon upgrade.

Chapter 10: “Midnight Snack”
Weapon Upgrade #35
This upgrade will be directly on your path after completing a traversal section at the start of the chapter.

Weapon Upgrade #36
After the previous upgrade, there will be giant ice shards falling from the sky. There will be 2 platforms you can slide on to the right, after which you can collect the upgrade during a wallrun.
Weapon Upgrade #37
After falling through ice, you will reach a big wall you can climb. This upgrade will be waiting at the top.

Character Upgrade #17
After using 2 grapple points in a row you will reach another big wall you can climb. Go to the right instead and follow the path, then climb up to find a character upgrade.

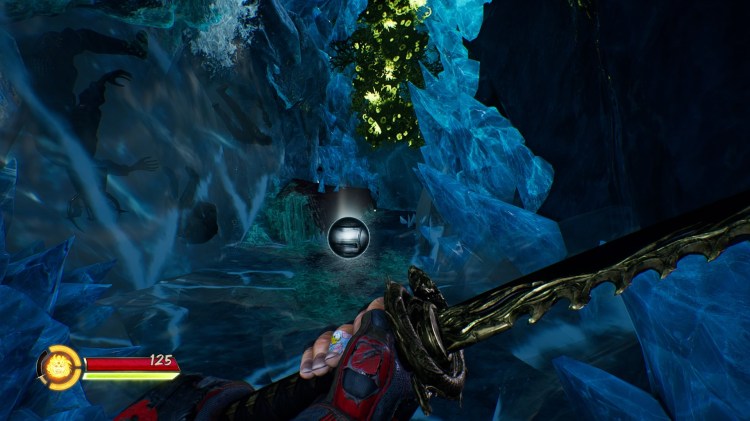
Chapter 11: “Intestinal Inspector”
Weapon Upgrade #38
Shortly after a fight with 2 Gassy Obariyon yokai, there will be 2 walls you can climb. When you reach the top there will be an ice cave to your right, follow it to find the weapon upgrade.

Character Upgrade #18
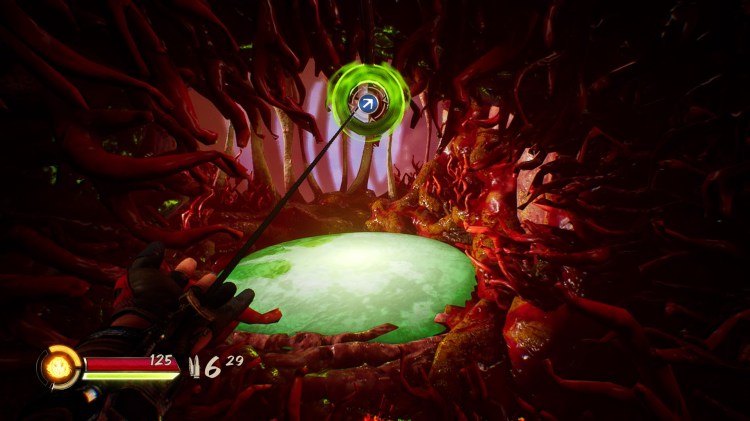
After getting past the dragon’s heart, you will see 2 green bounce pads. Ignore them and head left until you reach another green bounce pad that will lead you to this upgrade.

Weapon Upgrade #39
After the combat arena, you will slide down and there will be a grapple point you need to use in slow motion. Turn around immediately and grapple to the other side to find this weapon upgrade.
Weapon Upgrade #40
After using the giant green bounce pad, you will see this upgrade in a room to your left. Go around and climb to a ledge from where you can drop inside.
If you enjoyed this trophy guide, why not check out some more we have?
You can also join us in our Discord, Follow us on Twitter & Subscribe to us on YouTube
