Trophy Roadmap
Difficulty: 5/10
Estimated time to Platinum: 70-90 hours
Trophies: 51. ![]() 1 /
1 / ![]() 1 /
1 / ![]() 9 /
9 / ![]() 40
40
Missable trophies: None
Glitched trophies: None
Difficulty related: ![]() Theraperfect,
Theraperfect, ![]() True Pinthusiast,
True Pinthusiast, ![]() Noise Know-It-All,
Noise Know-It-All, ![]() Full House
Full House
Playthrough: 1
Introduction
Welcome to the NEO: The World Ends with You trophy guide!
The long awaited sequel of Square Enix The World Ends With You. 3 years after the first part you will find yourself in another Reapers Game in Shibuya. Will you be able to survive and get back to your normal life?
Trophy Roadmap
Step 1: Finish the main Story
Play through all the days and finish as many quests, dives and pig noises as you can.
Step 2: Chapter Select Cleanup
Finish the remaining tasks from step 1 and also look out for the Axion, Dilaton and Dibaryon conditions.
Step 3: Black Cat Ensemble + Superboss
Get the Pins of the Yearlong Ensemble and use it to beat the Superboss on Normal Difficult.
Step 4: The Grind
Now that you have the best Pin Sets and hopefully good stats, it’s time to fill your collections.
Tips and Strategies
General Tipps:
Use Restaurants as much as possible.
Change pins when you have evolved and mastered, this will spare you a lot of grind in the end.
When you speak to Hishima on Another Day you can change your team, you will need to do this to evolve Pins.
On the Chapter Screen can check your progress toward quests, dives, scambles and also noises (Pigdar Bonus, unlocks Week 2 – Day 3). There is no specific trophy for all quests and dive, but you will need them for ![]() Skill Savvy. You can also repeat previous chapters at any time.
Skill Savvy. You can also repeat previous chapters at any time.
Levelling and Stats:
Levels only raise your HP in this game, other Stats only raise with food. It also means that lowering your Level only effect your HP. There is also a Social Network Reward called “HP Retain” which reduce your lose, so you will not feel a big difference between max level and level 1 at some point.
Usefull Pin-Sets:
-
Yearlong Ensemble: St. Ver’s Uppercut, St. Aestas’ Shrapnel, St. Autumnus’ Strike, St. Hiems’ Shotgun + Hotaru (Optional: Hog Healer): The Effect of this Sets restores your HP while dealing Damage to your enemy . Hotaru is another great light element pin. Hog Healer is the best healing pin. This can be a great help especially for beating the superboss.

-
Black Cat Ensemble: The effect tremendously increase your attack, which make this the best damage dealing set in the game. There is no healing pin in there, so you either need to trust it on your equipment or use Killer Remix to heal.

Trophy Guide
 This Trophy Ends with You This Trophy Ends with You  Collected all graffiti.™ |
Collect all trophies!
 Survivor Survivor Completed the Final Day of Week 1. |
You will get this automatically after finishing the first week.
 Fortnight Fortnight Completed the Final Day of Week 2. |
You will get this automatically after finishing the second week.
 Game Over Game Over Completed the Final Day of Week 3. |
You will get this automatically after finishing the third week.
 Bonus Round Bonus Round Completed Another Day. |
You will get this automatically after finishing the bonus day.
Another Day has no side quest, but some other side activities (only after talking to Hishima):
- Rhyme in Dogenzaka: 10 Reduction Dive
- Minamimoto in Expressway Underpass: Superboss
- Coco in Takashita Street: Final Time Trial
 Secret Sleuth Secret Sleuth Collected all Secret Reports. |
The Secrets Reports are Books that give you some background stories to the game.
You can find 24 of them. Four of them you will get by completing the Social Network, 19 coming from defeating Boss Noises symbols and one you will get if you have all of the others.
To unlock this Boss Noises need to finish week 3 and unlock the Bossy Noise Reward in the Social Network. Then you will find blue noise symbols between the regular ones on every day, which allow you to repeat the boss battles. On most days the appear on your starting area.
The ones you get from Boss Noise symbols are:
- No. 1 – Drum ‘n’ Stinger (Week 1 Day 1, Scramble Crossing)
- No. 2 – Go-go Berengei (Week 1 Day 2, 104 Building )
- No. 5 – Fuya on (Week 1 Day 5, Tipsy Tose Hall
- No. 7 – Susukichi (Week 1 Day 7, Tower Records Shibuya)
- No. 8 – Houseleon (Week 2 Day 1, Takeshita Street)
- No. 9 – Mr. Mew (Week 2 Day 2, Scramble Crossing)
- No. 11 – Mammoth R&B on (Week 2 Day 4, Center Street)
- No. 12 – Phasasaurus Rex (Week 2 Day 5, Expressway Underpass)
- No. 13 – Motoi (Week 2 Day 6, Spain Hill)
- No. 14 – Grus Cantus (Week 2 Day 7, Takeshita Street)
- No. 15 – Plague Batrakos (Week 3 Day 1, Tower Records Shibuya)
- No. 16 – Iris Cantus (Week 3 Day 2, Dogenzaka)
- No. 17 – Plague Stinger (Week 3 Day 3, Shibuya Stream)
- No. 18 – Leo Cantus Armo (Week 3 Day 4, Tokyu Plaza)
- No. 19 – Plague Pachy (Week 3 Day 5, at Shibuya Stream)
- No. 20 – Cervus Cantus (Week 3 Day 6, Udagawa Backstreets)
- No. 21 – Shiba (Week 3 Day 7 1st Day at Takeshita Street)
- No. 22 – Soul Pluvis (Week 3 Day 7 2nd Day at Takeshita Street)
- No. 23 – Phoenix Cantus (Week 3 Day 7 3rd Day, Tokyu Plaza)
 Beginner’s Luck Beginner’s Luck Won your first battle. |
You will get this after finishing your first battle, the first of many.
 Risk vs. Return Risk vs. Return Won an 8-reduction chain battle. |
See ![]() High-Stakes Hijinks for more information.
High-Stakes Hijinks for more information.
 High-Stakes Hijinks High-Stakes Hijinks Won a 20-reduction chain battle. |
You are starting a chain when 2 or more Noise symbols hovering over you when you start a battle. You will see a counter on your screen. At the beginning you can only do chains up to five battles, to get 20 you will need all of the Chain Extender and the Noise Magnet Social Network rewards.
The best place for this is the Scramble Crossing on Week 2 Day 3. When there hold R2 while rolling over the map and be careful that they don’t touch you until you have attracted all of them.
, Killer Remix Killer Remix Erased a group of Noise using a Killer Remix. |
Killer Remix will unlock Week 2 Day 7. Simple use ![]() when you groove reached 300% and end the battle with it. This makes a lot of damage and heals so it is a good way to save you from critical situations. Killing Noises with this also raise your drop rate x3.
when you groove reached 300% and end the battle with it. This makes a lot of damage and heals so it is a good way to save you from critical situations. Killing Noises with this also raise your drop rate x3.
 In Perfect Sync In Perfect Sync Landed enough Beatdrop Combos to boost your Groove above 200%. |
Like the description says raise the Grove by using Beatdrop Combos. To raise as to 200% you need to reach Week 2 Day 3 before.
 Hunter Hunter Took down 1,500 enemies. |
See ![]() Silencer for more information.
Silencer for more information.
 Punisher Punisher Took down 3,000 enemies. |
See ![]() Silencer for more information.
Silencer for more information.
 Silencer Silencer Took down 6,000 enemies. |
Like the trophy said, you will get this after defeating 6,000 enemies. This might sounds much, but you will most probably get this naturally during the grind.
 Master of the Enemies Master of the Enemies Took down every type of enemy. |
There are 92 type of noise to fight in this game. Look at the Pin and Noise Guide for the full list.
 Noise Know-It-All Noise Know-It-All Collected 80% of all enemy dossiers. |
On the noisepedia bottom left you will find your completion percent, you need to raise this to 80% for this trophy. You can do this by fighting new noises and fill out there pin drops.
 Valued Customer Valued Customer Reached VIP Level 5 with a brand. |
See ![]() Favorite Customer for more information.
Favorite Customer for more information.
 Super Shopper Super Shopper Reached VIP Level 5 with 8 brands. |
See ![]() Favorite Customer for more information.
Favorite Customer for more information.
 Favorite Customer Favorite Customer Reached VIP Level 5 with every brand. |
On the bottom left of the shop screens you will find the VIP level. You can raise it bye battling with the the brands cloth and pins or bye buying items in the store. Since you need to buy Pins for ![]() True Pinthusiast and all of the fashion items for
True Pinthusiast and all of the fashion items for ![]() Fashionista anyway, you don’t need to worry about this trophy.
Fashionista anyway, you don’t need to worry about this trophy.
The required stores are:
- Cony x Cony (Tsutaya O-East)
- croaky panic (Takeshita Street)
- garagara (Tower Records Shibuya)
- Gatto Nero (104 Building)
- Hog Fang (Center Street, Cat Street)
- Il Cavallo Del Re (Tokyu Plaza)
- Joli Becot (104 Building, Spain Hill)
- Jupiter of the Monkey (Cat Street)
- Monocrow (Udagawa Backstreets)
- Natural Puppy (Spain Hill)
- RyuGu (Shibuya Hikarie)
- Shepherd House (West Exit Bus Terminal)
- Tigre PUNKS (Tsutaya O-East)
- Top o’ Topo (104 Building, Tokyu Plaza)
 Fashionista Fashionista Purchased every type of fashion item. |
You can find 277 fashion items in this game. You will get them from events, as Social Network Rewards and mostly from buying or trading in shops. Some items will only appear after you reached VIP level 5 for the shop.
 Full Tummy, Happy Heart Full Tummy, Happy Heart Exceeded 100% Fullness. |
You will find a meter on the upper right side of your screen. It fills when you are eating at a restaurant and sinks after battles. Simple eat at restaurant until his meter is full to get this trophy. You should try to full it up every time anyway to get better stats.
 Familiar Face Familiar Face Became a restaurant regular. |
See ![]() Famous Foodie for more information.
Famous Foodie for more information.
 Gourmand About Town Gourmand About Town Became a regular at 8 restaurants. |
See ![]() Famous Foodie for more information.
Famous Foodie for more information.
 Famous Foodie Famous Foodie Became a regular at every restaurant. |
You will be a regular in restaurants when you have the option to repeat your order. To do this you need to eat there a few times and unlock there Social Network reward.
List of all restaurants:
- Hachiko Cafe (Scramble Crossing)
- Justice Burger (Scramble Crossing)
- Vegelovers (TOKYO RECORDS SHIBUYA)
- Donburi Town (Center Street)
- Glutton 4 Gluten (Center Street)
- SBY BBQ (Tipsy Tose Hall)
- Udagawa Parfait (Udagawa Backstreets)
- Bubblevision (Spain Hill)
- Crowned Curry (Dogenzaka)
- SPICY CURRY DON (Dogenzaka)
- Suzu Slurpz (Dogenzaka)
- Kyoto Sweets (Shibuya Hikarie)
- Cutie Pies (Takeshita Street)
- Moyai Mart (West Exit Bus Terminal)
- Asia Fantasia (TOKYU PLAZA)
- somedrinks (SHIBUYA STREAM)
- Tacos y Mas Tacos (SHIBUYA STREAM)
- fluffy ‘n’ sweet (MIYASHITA PARK)
 Experimental Eater Experimental Eater Ordered one of every food item. |
This game offers you 95 types of different foods in 18 restaurants around the city.
In order to unlock every food item of a restaurant you need to eat there a few times and unlock the restaurants Social Network reward.
 Dress-Up Debut Dress-Up Debut Wore a full outfit. |
You will get this when one of your characters wear an item in every of this 5 slots.
 Brand Ambassador Brand Ambassador Wore a full outfit using a single brand. |
This is similar to ![]() Dress-Up Debut, but every of the items need to be of the same brand.
Dress-Up Debut, but every of the items need to be of the same brand.
 Passion 4 Fashion Passion 4 Fashion Wore a party’s worth of full outfits. |
The same as ![]() Dress-Up Debut, but for all of your characters. You can only unlock this when you got your 6th party member on Week 3 Day 5.
Dress-Up Debut, but for all of your characters. You can only unlock this when you got your 6th party member on Week 3 Day 5.
 You Wear It Well You Wear It Well Unlocked all of a full outfit’s abilities. |
See ![]() Super Stylish for more information.
Super Stylish for more information.
 Super Stylish Super Stylish Wore a full outfit of clothing whose abilities all require over 100 Style. |
Every Fashion item has an ability which only activate if your style is high enough. For this trophy equip one of your charas only with threads that have abilities which need more than 100 style. You can raise your style by eating in restaurants.
 Made of Money Made of Money Possessed ¥999,999. |
To get Money you need to sell pins. First you can only hold up to 99,999 Yen. To expand your wallet unlock the ShibuPay Expansions Social Network rewards. Some items will cost you more than 1 million, so you definitely will get this while grinding.
The highest worth pin one is the 100,000 Yen one which drops from Hardcore Puffer, Plague Nemopilema and Motoi on Ultimate. Since Hardcore Puffer is the only regular noise this should be your way to go.
I recommend to farm them at Cat Street on Another Day. Since the drop rate is quit low, set your level to 1 and equipment which raise your drop rate. Than chain together as much as your are able to beat. Hardcore Puffer explode after you defeat them and will do a lot of damage, so get away from them as fast as you can.
 All Grown Up All Grown Up Reached Level 100. |
It’s very likely that you will get this trophy naturally, if not use the spot mentioned in ![]() Made of Money.
Made of Money.
 My First Pin My First Pin Mastered one type of pin. |
See ![]() Pin Perfection for more information.
Pin Perfection for more information.
 Ten Pin Master Ten Pin Master Mastered 10 types of pins. |
See ![]() Pin Perfection for more information.
Pin Perfection for more information.
 Play to Pin Play to Pin Mastered 30 types of pins. |
See ![]() Pin Perfection for more information.
Pin Perfection for more information.
 Pin Pincher Pin Pincher Mastered 50 types of pins. |
See ![]() Pin Perfection for more information.
Pin Perfection for more information.
 Pins Aplenty Pins Aplenty Mastered 100 types of pins. |
See ![]() Pin Perfection for more information.
Pin Perfection for more information.
 Plethora of Pins Plethora of Pins Mastered 200 types of pins. |
See ![]() Pin Perfection for more information.
Pin Perfection for more information.
 Pin Perfection Pin Perfection Mastered 300 types of pins. |
This game has 333 pins, but only 312 of this can be equipped and mastered. Evolving a pin also count as mastering. Mastered pins will have star on there icon in the pin list in the collection menu.
Best place for this Week 3 Day 4 at Shibuya Stream.
You get more PP depending on how much chains you do and your Battle Rank. Threads with the Jinxed Point Boost will also help, namely this are Spiked Choker (buy in Petit Bonheur at Tokyo Plaza) and Turquoise Bracelet (buy at in garagara at Tower Reconds Shibuya). Difficult doesn’t matter for PP.
 Full House Full House Equipped a 6-pin set. |
There is only one 6-pin set in this game namely Black Cat Ensemble, which is also the strongest pin set of this game.
- Black Cat Crush: buy at Gatto Nero (104 Building) for 960,000 Yen
- Black Cat Cards: drops from Cervus Cantus α (Boss) at hard difficult
- Black Cat Burst: trade at Gatto Nero (104 Building) for 3x Scarletite (No. 323) 1x Sfermion (No. 333)
- Black Cat Comet: drop from Mr. Mew (Boss) on ultimate difficult
- Black Cat Blades: drop from Soul Pulvis on hard difficult
- Black Cat Burn:Drop: drop from Felidae Cantus on normal or hard difficult
 True Pinthusiast True Pinthusiast Collected all pins. |
You can find 333 different pins in this game. 312 of this are battle pins, the other are either Material or money pins. You will get pins from story events, shops and mostly as drops from enemies. Look to the Pin and Noise Guide for more information.
 Viva la Evolution Viva la Evolution Evolved a pin. |
See ![]() Pin Perfection for more information.
Pin Perfection for more information.
 No Music, No Life No Music, No Life Collected all CDs. |
There are two shops in this games who sell CDs: Tower Record and Cyco Records at Udagawa. Overall there are 51 CDs and you will need 62240Yen to buy all of them. The last one can only found after reaching Another Day.
 Theraperfect Theraperfect Earned gold medals in 15 Dive missions. |
Dive Missions are a special kind of Noise Battles where you have a time limit and noises with special effects. There are more than 15 Missions, but you will need to do all of them for ![]() Skill Savvy anyway.
Skill Savvy anyway.
| Fiery Rage | Noises do more Damage. | |
| Rainy Somber | HP Drain: You will constantly loose HP. | |
| Serene Bliss | You restore HP while defeating them. | |
| Chaotic Fear | The Noises will be bigger and there DEF increase. |
You need to play at Normal at least to be able to earn Gold. You can increase the time limit with the Dive Extension Bonus of the Social Network menu.
Most dives are related to main, or side quests. There is on dive which will not appear in the chapter select. You will find it on Another Day in Dogenzaka.
If you aren’t able to get it, come back later and use the Black Cat Ensemble.
 Rise of the Pig King Rise of the Pig King Erased all Pig Noise. |
Pigs are a special kind of noise, they will appear with a pink symbol and you can only challenge them once. They will have an fix drop, so difficult doesn’t matter.
There are two Social Network who will help to find them: Pigdar will show a pink symbol on your screen if a pig symbol is in the same area Pigtionary will show you, how many pigs you can find per day in chapter select.
Type of Pig Noises:
|
|
Pig Samba (No. 048) |
There is nothing special about this one, just beat it in time. |
|
|
Pig Carol (No. 52) |
Only takes damage while attacking with his weakness. |
|
|
Pig Mambo (No. 53) |
Always appear together with a Pig Bolero, you need to took them down simultaneously. |
|
|
Pig Bolero (No. 54) |
Always appear together with a Pig Mambo, you need to took them down simultaneously. |
|
|
Pig Waltz (No. 55) |
They always appear in groups and change color if you attacking them. In order to defeat them, they all need to have the same color. |
|
|
Pig Jive (No. 56) |
Usually come together with Pig Waltzs. They like exploding and hurt both enemies and ally’s. |
|
|
Pig Cha-Cha (No. 57) |
This will starting to split, use wide-ranged attack and get ride of them as fast as possible. |
You will need the Shokas Teleport ability and Up-and-Over Bonus to reach all of the Pigs, you can get the last by finishing a quest in Spain Hill on Day 5.
 Photographic Memory Photographic Memory Completed all Remind images. |
Reminds are a simple small minigame where you need to adjust a image buy rotating ![]() and
and ![]() . All of them are either related to main or side quests.
. All of them are either related to main or side quests.
There is only one optional Remind on Week 1 Day 5. This will only appear if you answer the password of the Deep Rivers Society on Shibuya Crossing wrong. If you missed just replay this day.
 Sultan of Slam Sultan of Slam Earned all Scramble Slam rewards. |
You need to do Scramble Slams on 3 days. The goal of this is to take over every area and get as much points as possible for bonus rewards.
This will be a lot easier after you finished the game and you have all of the Chain Extender Social Network rewards. If you chain the regular noises together with at least on the orange Turf noises or the other team area leaders you will also get points for the regular noise battles. Leave and re-enter the area to respawn the red symbols.
You should always keep the 3x Bonus enemy as the last and perform Beatdrops to increase your score multiplier up to 5.0 max.
If you make to much damage try to use weaker pins and raise your difficult.
Scramble Slam 1 (W1D6):
- 30,000: 3x 10,000 Yen
- 45,000: 2x Axion
- 60,000: 1x Just Keep Swimmin’!
Scramble Slam 2 (W2D3):
- 200,000: 2x Axion
- 300,000: 2x Dilaton
- 400,000: 1x What a Shock!
Scramble Slam 3 (W2D6):
- 25,000: 5x 10,000 Yen
- 37,500: 4x Dilaton
- 50,000: 1x Stop the Music!
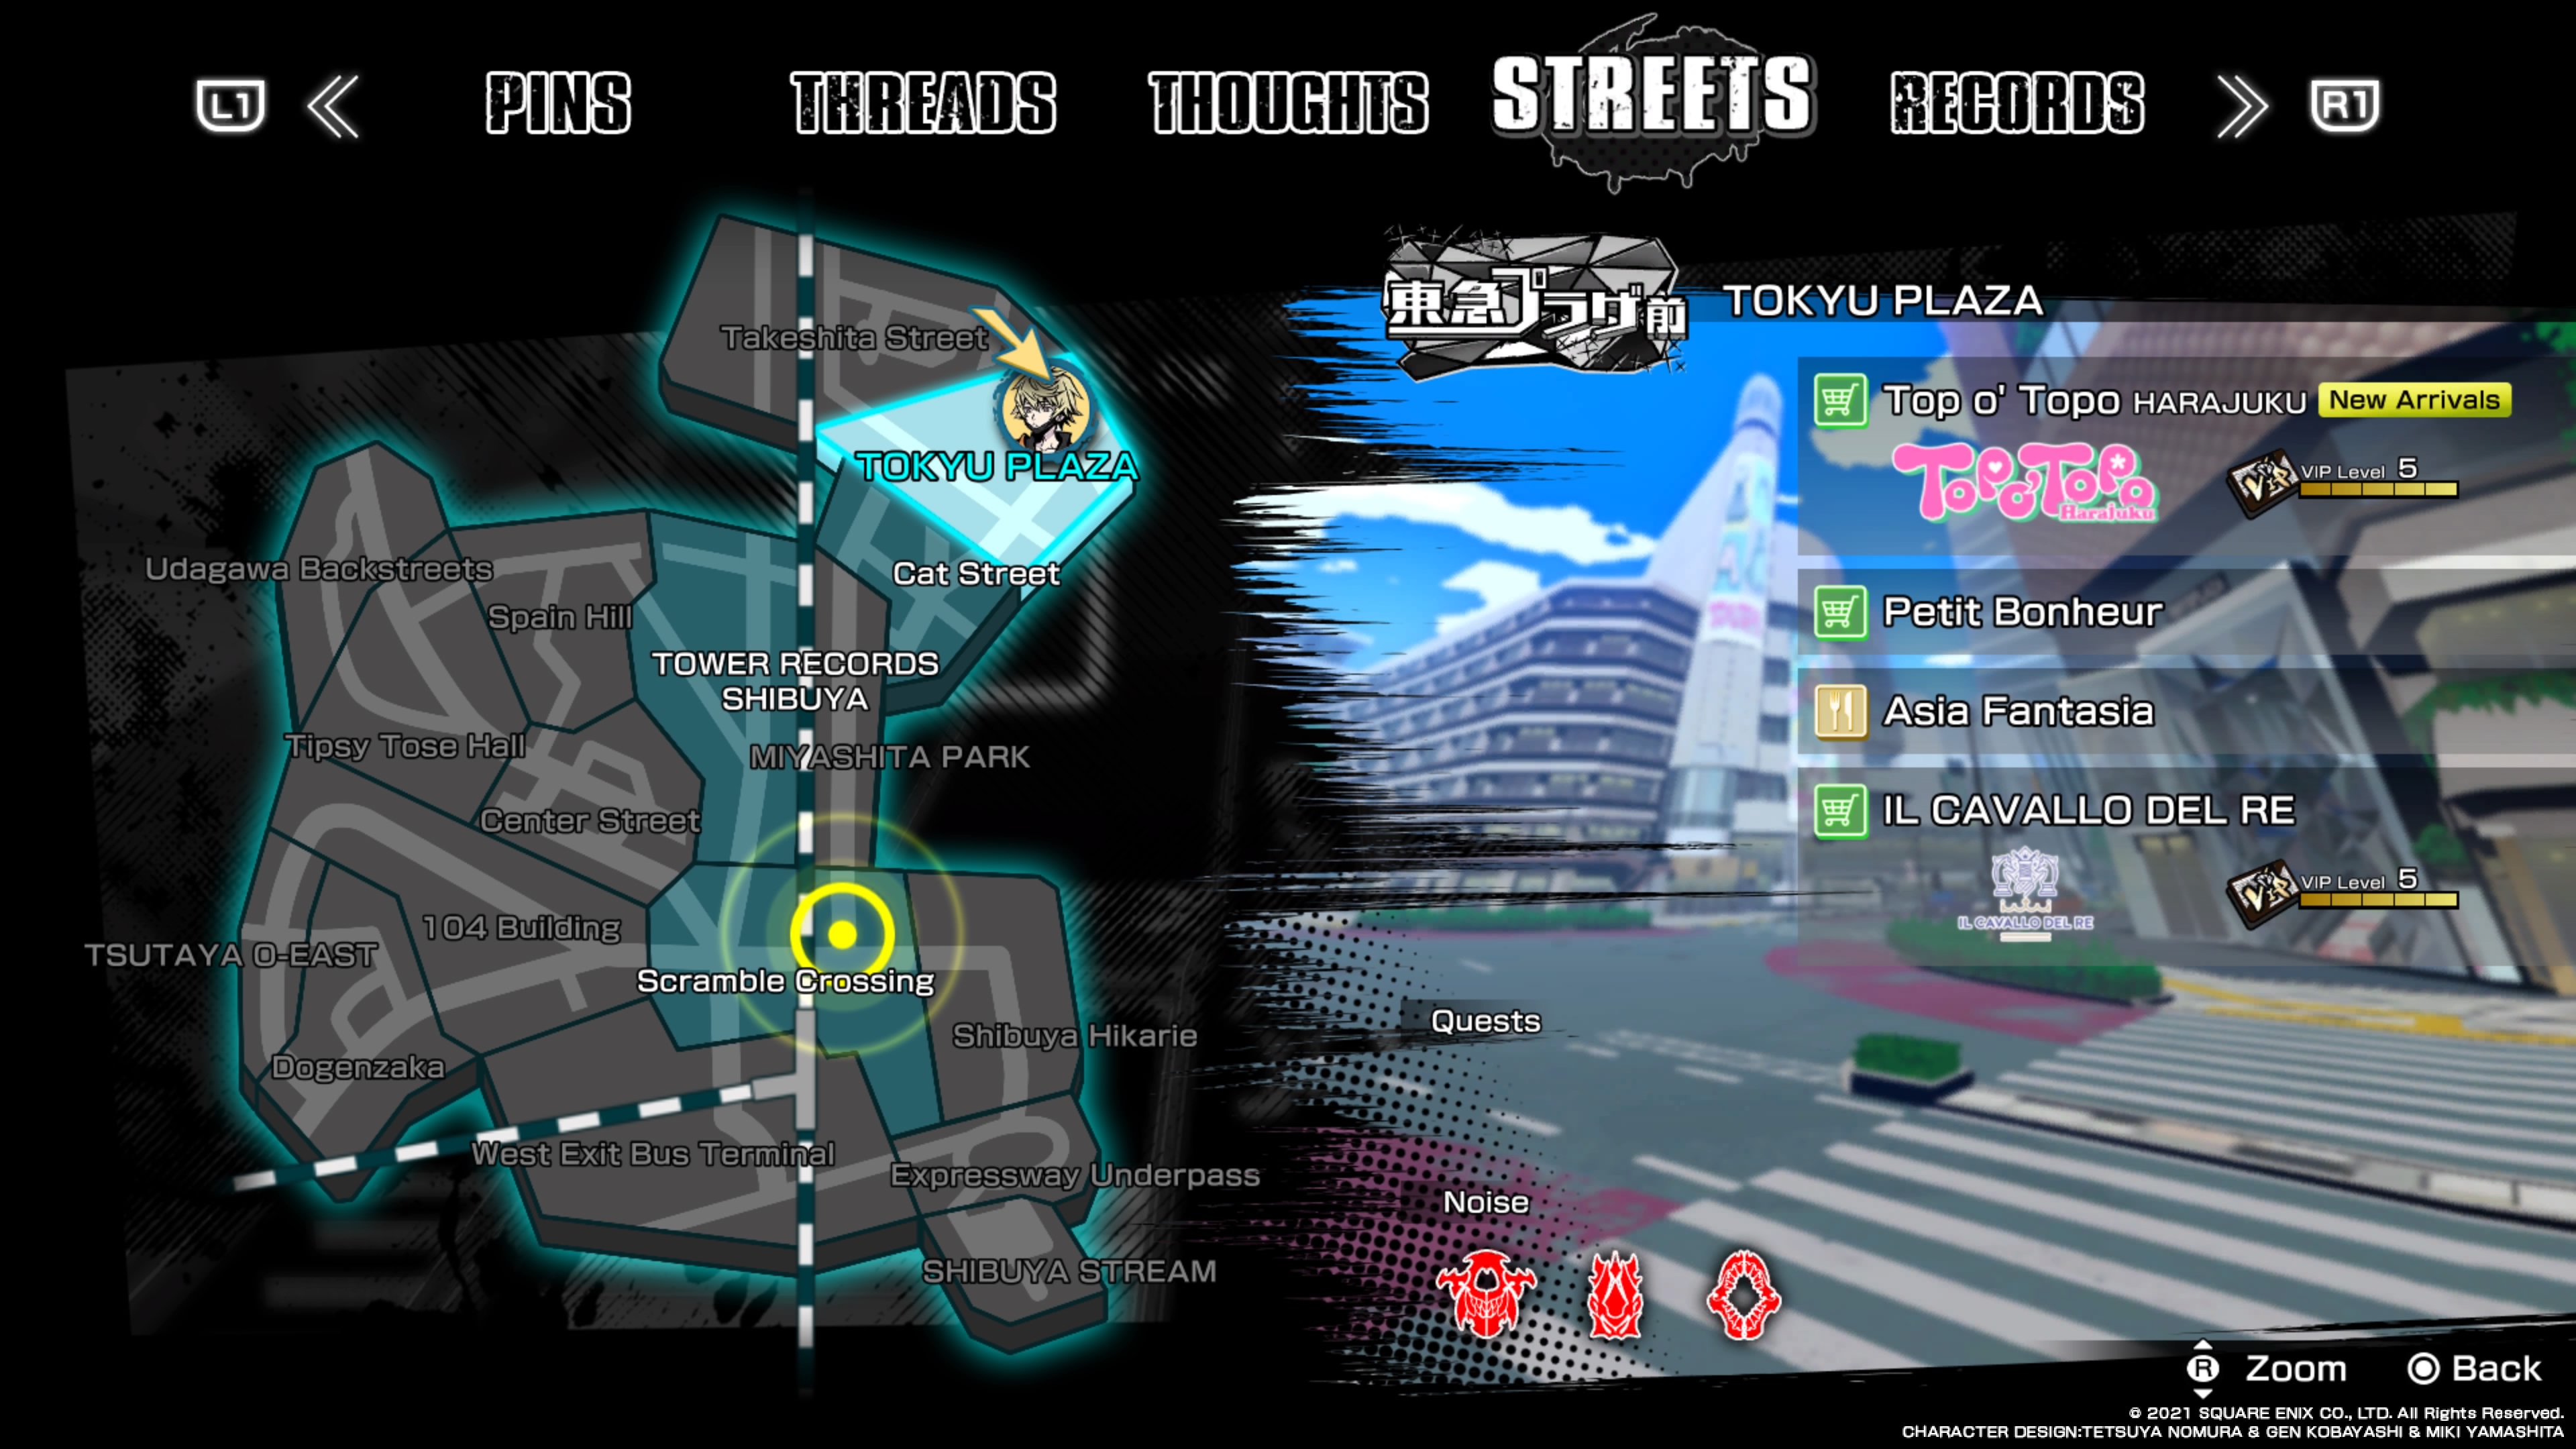
 City Walker City Walker Visited all areas of Shibuya. |
You will be getting this trophy for visiting all 17 areas of this game. You can’t enter every area from the beginning, and can’t visit every area every day. The exception is Another Day, you can visit every area here.
The last one will be Miyashita Park in Week 3.
 Social Butterfly Social Butterfly Connected your entire social network. |
See ![]() Skill Savvy for more information.
Skill Savvy for more information.
 Skill Savvy Skill Savvy Collected all social network rewards. |
The Social Network connects chars you will meet on your journey and give you the opportunity to unlock unique items, difficulties and other bonuses, which also will help with other trophy’s.
Story-related Characters will be automatically added with your Progress. For Restaurant Employers you need to order 3 times at each of them. To get the Shop Owners you either need to buy 3 items or reach VIP Level 3.
The rest will come when you solve every side quest. You can also repeat them anytime, while repeating the day.
|
Week 1, Day 4 |
Quiz or No Quiz |
Shibuya Hikarie |
|
The Prince’s Predicament |
Tipsy Tose Hall |
|
|
Don Curryone |
Dogenzaka |
|
|
Week 1, Day 5 |
Fangirl in Crisis |
Scramble Crossing |
|
Don You Forget About Me |
Dogenzaka |
|
|
Good Noise Hunting |
Spain Hill |
|
|
Week 1, Day 7 |
Overheated Fanboy |
Central Street |
|
The Noisemeister Cometh |
Scramble Crossing |
|
|
Week 2, Day 1 |
Wallet Woes |
Tokyu Plaza |
|
Week 2, Day 2 |
A Peroxidoll’s Problem |
Tokyu Plaza |
|
Identity Crisis |
Tower Records |
|
|
Week 2, Day 4 |
Brotherly Bugaboo |
Dogenzaka |
|
Don Worry, Be Happy |
Dogenzaka |
|
|
It’s all Greek to Sumio |
West Exit Bus Terminal |
|
|
Week 2, Day 5 |
Get by with a Little Help(er) |
Scramble Crossing |
|
Help Eiji Oji |
104 |
|
|
Help Ryoji |
Expressway Underpass |
|
|
Week 2, Day 7 |
Love on the Brain |
Shibuya Stream |
|
Put the Phone Down |
Shibuya Hikarie |
|
|
Help Modoriyama |
Udagawa |
|
|
Week 3, Day 1 |
Internet Trolls |
Expressway Underpass |
|
Ghosted |
Tipsy Tose Hall |
|
|
Help Modoriyama |
Udagawa |
|
|
Week 3, Day 2 |
Help Ryoji’s Little Helper |
Expressway Underpass |
|
Voice of an Angel |
O-East |
|
|
Kashiki’s Koncern |
Dogenzawa |
|
|
Week 3, Day 4 |
Help the Apparition |
Shibuya Hikarie |
|
MKN Memento |
Tower Records |
|
|
Week 3, Day 6 |
Elegant Possession |
Tower Records |
Unlocking all the Charas will get you ![]() Social Butterfly. To get this trophy you also need to unlock all of the Rewards with Friendship Points. You can get FP by finishing quest and dives, for full points you need to get gold in all of them.
Social Butterfly. To get this trophy you also need to unlock all of the Rewards with Friendship Points. You can get FP by finishing quest and dives, for full points you need to get gold in all of them.
You can also check the condition any time in the social network menu.
 Bring the Noise! Bring the Noise! Completed the Final Time Trial. |
You will find the Final Time Trial by talking to Coco in Takeshita Street on Another Day. This is a Boss Rush with 11 enemies, which are:
- Go-go Beringei
- Fuya
- Motoi
- Susukichi
- Mr. Mew
- Grus Cantus
- Iris Cantus
- Leo Cantus Armo
- Cervus Cantus
- Shiba
- Phoenix Cantus
This counts as a chain so if you do it on level 1 you pretty much have 100% chance of every drop here. For this trophy you can do it on any difficult.


Yess, a guide for this lovely game. I am planning on buying this game when it is on sale next and I am looking forward to using this guide!!! Keep up the good work.
LikeLike