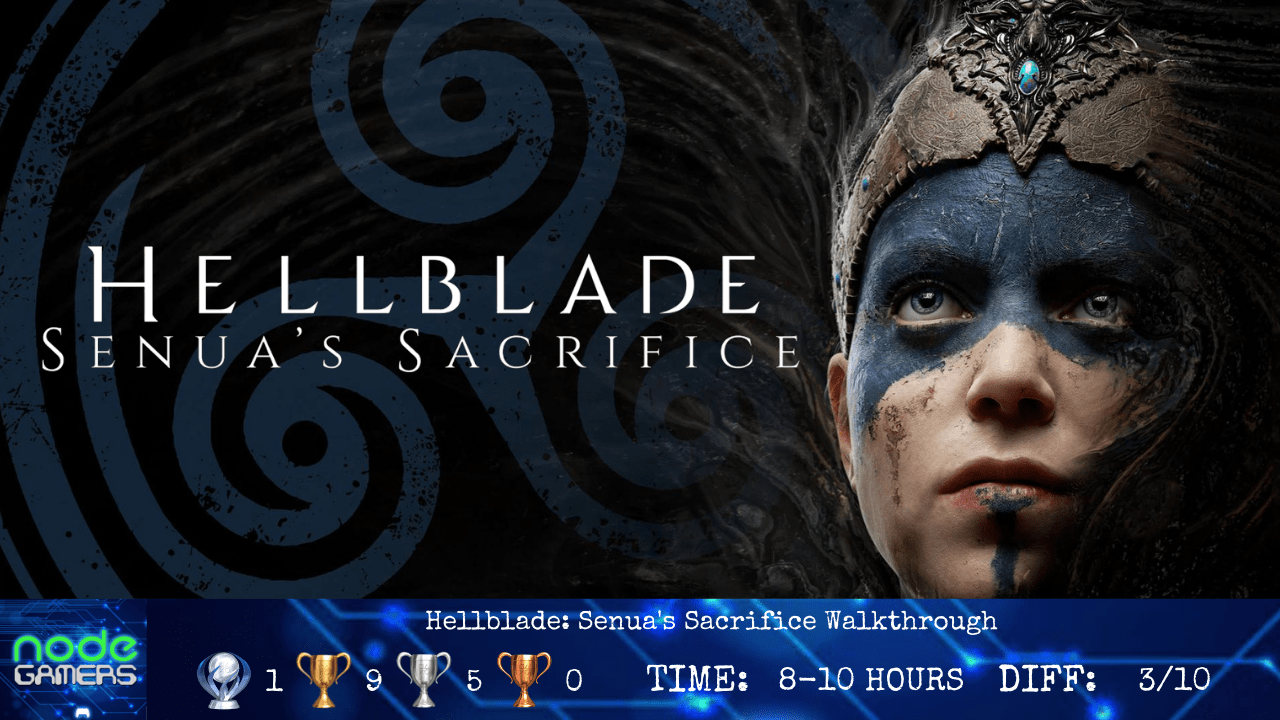
Trophy Roadmap:
Difficulty: 3/10
Estimated time to Platinum: 8 – 10 hours
Trophies: 15. ![]() 1 /
1 / ![]() 9 /
9 / ![]() 5 /
5 / ![]() 0
0
Missable trophies: None, with the walkthrough
Glitched trophies: None
Difficulty related: None
Playthrough: 1
Introduction:
Welcome to the Hellblade: Senua’s Sacrifice walkthrough!
Developed and published by Ninja Theory; Hellblade: Senua’s Sacrifice is an action-adventure game that includes amazing visual, action packed fight scenes, and puzzles to test your patience.
Tips and Strategies:
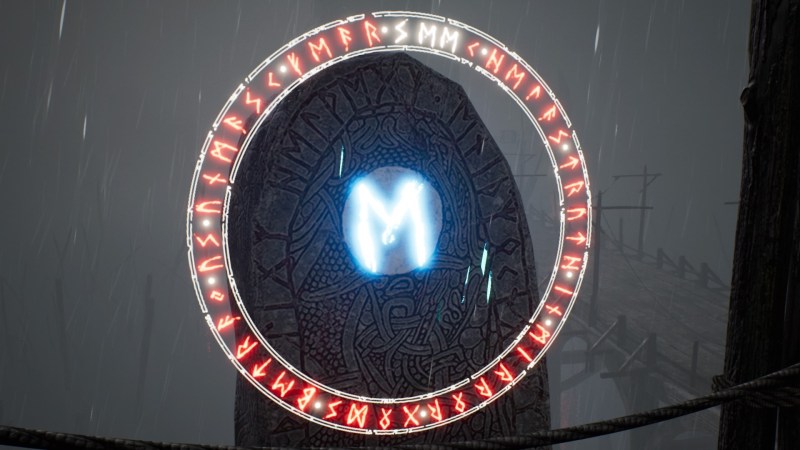
The prologue opens to Senua in a river. The game is not open world, you will be following the linear path for most of the journey. There is only one type of collectible, the Lorestones, they can be collected by approaching them and using ![]() to focus. You will know it worked when a voice starts telling a story and the corresponding rune lights up on the outer circle. The rune circle is a good way to track if you missed a collectible, each dot indicates the beginning of a new area.
to focus. You will know it worked when a voice starts telling a story and the corresponding rune lights up on the outer circle. The rune circle is a good way to track if you missed a collectible, each dot indicates the beginning of a new area.
If you liked this walkthrough, you’ll find more on our site.
You can also chat to our writers and friends by joining us on Discord with this link – Discord Invite
*This is a full game walkthrough, and it will contains spoilers, both in text and picture.
Walkthrough:
Shortly after Senua touches land you will gain control, find the first Lorestone 1/44 right in front of you.
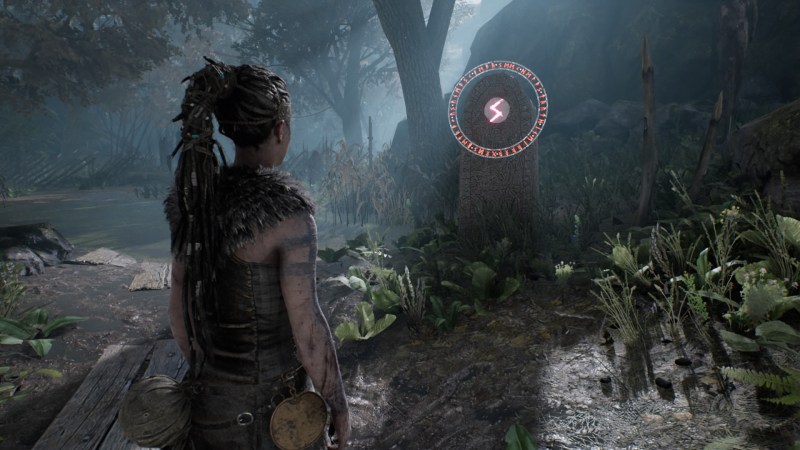
Follow the path until you reach the beach, where you can spot a bird shaped tower in the distance. Keep to the left side as you move towards the bridge. After passing under the bridge look to your left to find Lorestone 2/44. Follow the stairs to your right as the path takes you inside the mountain.
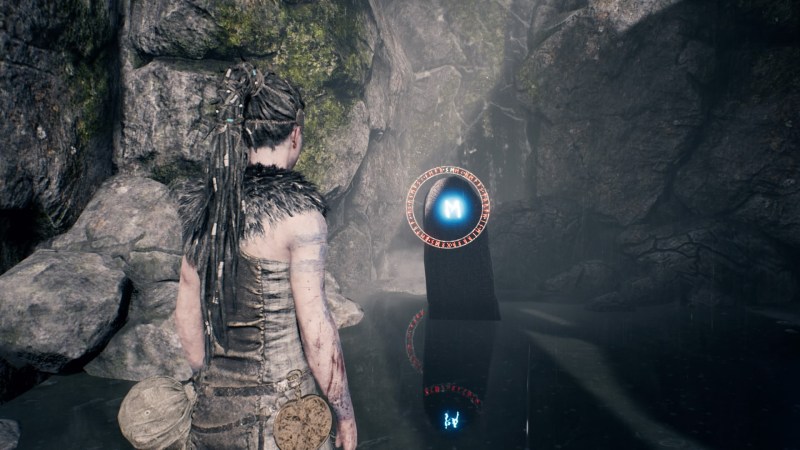
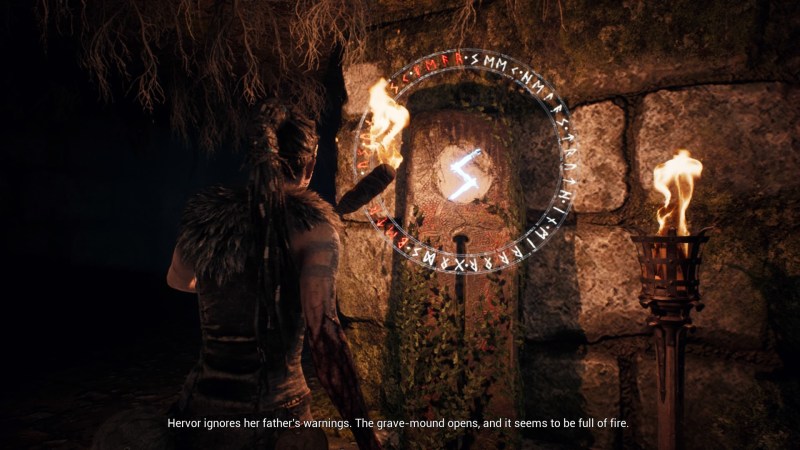
You will soon find the first of many rune doors, use focus to see the runes on the door. The runes you need to find to open the door can be spotted around the environment. To open this door, turn around to find the rune you seek on the wall directly behind you, formed by shadows of the branches above. You know you are getting closer to the correct position when red runes start appearing all around your screen, this will be helpful throughout the game. Get close and use focus to read the rune, you will know it worked when the symbol lights up and aligns, the door will be open to you now.
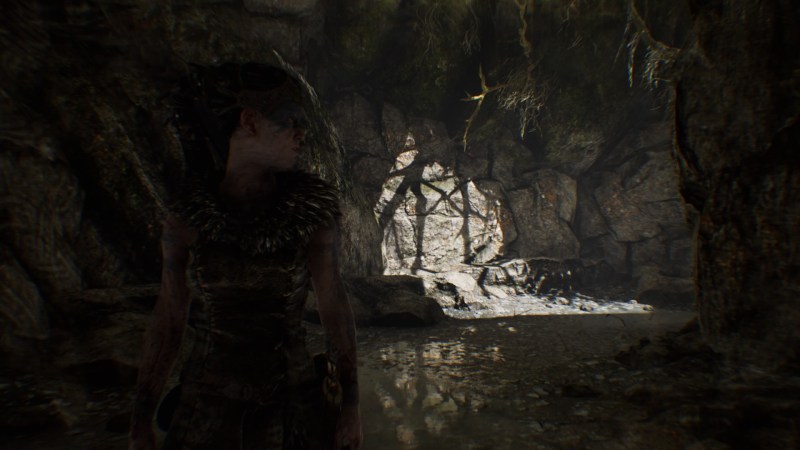
Follow the path around the mountain, after you go across a balance beam Lorestone 3/44 will be visible in front of you the left.
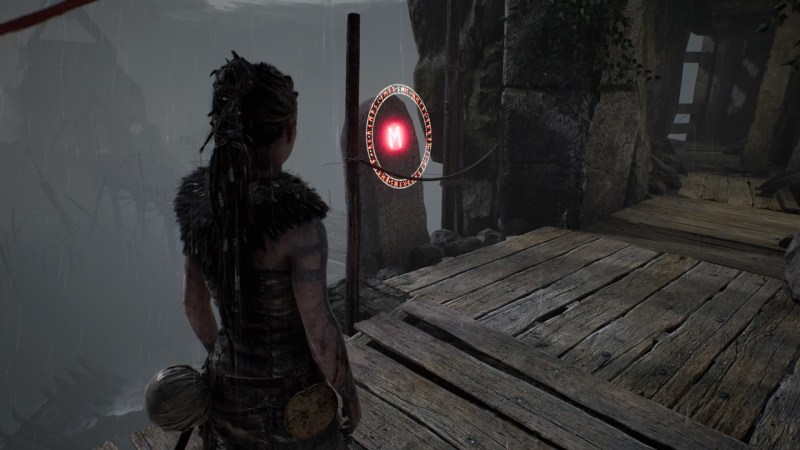
Once you reach Hel’s gate for the first time you will be introduced to the darkness, followed by your first fight. The best strategy is to block with L1 as the enemies about to land a hit, perfect parries will stun the enemies briefly and causes Senua to follow up with a strong counter-attack that downs the enemies faster. If you fall during the fight the game explains that the dark rot on your right arm will grow each time you fail, if the rot reaches Senua’s head her quest is over and all progress will be lost!
When you gain control the next Lorestone 4/44 is directly to your right. You can complete the following two sections in any order, but it is recommended to go through the left door first, Valravn Keep, because you will obtain an item through story progression that will prove to be very helpful when taking on tougher enemies, and it will remain with you for the rest of your journey.
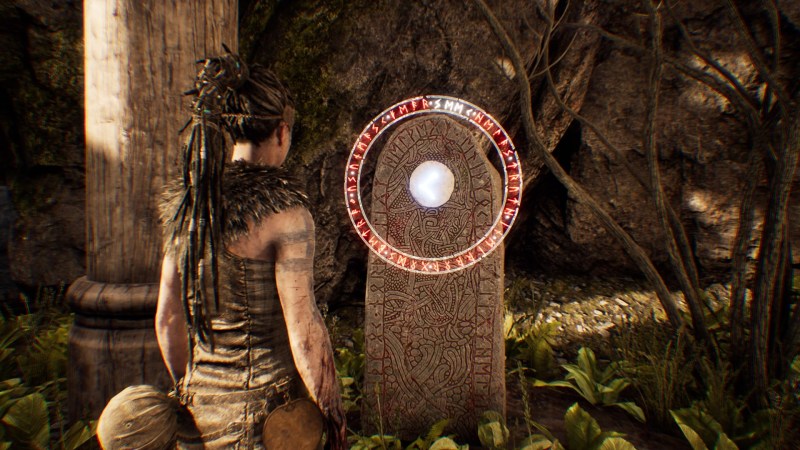
Valravn’s Keep
The upcoming area is heavily focused on illusion and manipulating the perspective to gain access to new areas.
When you enter the area, keep to the right side, Lorestone 5/44 is up some steps on the right. Continue on the path until you reach a stone gate marked with a symbol. Focus to read the symbol, the voice tells you illusion hides the path to Valravn, don’t trust your eyes. Find another way to see the truth. Turn left and go up the hill, interact with the raised bridge to lower it. You will find a portal gate with an animal skull on top, looking through it will reveal the stone gate to be open. Go through the portal and drop down to continue through the now open gate.
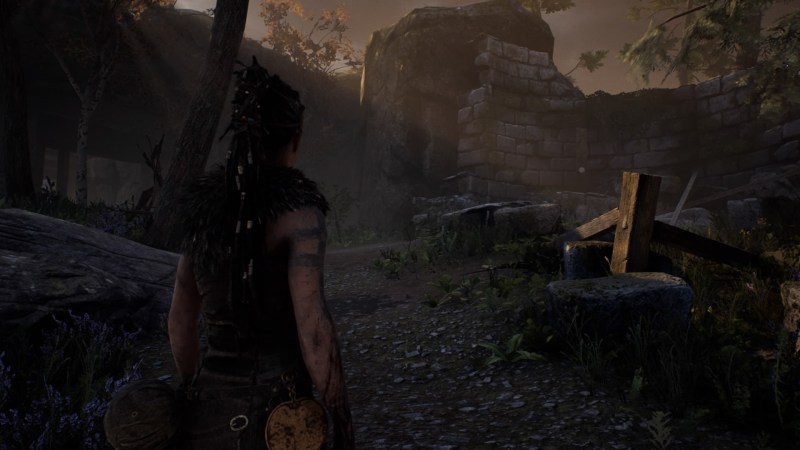
Go through the next gate and follow the path until you see the next gate. When you interact with the next gate, another combat sequence will be triggered. Use perfect parries as much as you can. After going through the gate, you will spot another gate in front of you with a red symbol, aligning the hanging ravens to form the symbol will break the magic seal and open the gate. Go behind the portal gate to your right to see a new opening in the opposite wall. Go through the portal and the new opening until you reach the top of the wall. While looking at the hate below, focus n the ravens to form the symbol. If the ravens don’t align, move left and right until it triggers.
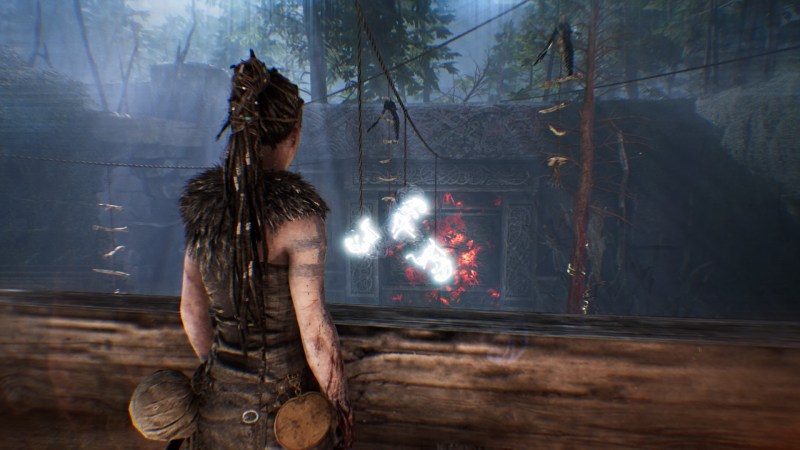
In the new open area, go all the way to the back to view the gate with the red symbol and focus on it. Go down and keep right as you go until you find a portal you can look through to reveal new stone steps. Go through the portal and follow the stairs until you see a figure of Valravn, which disappears when you get closer. Go through the portal near you, cross it in the same direction that the animal skull on top is facing and follow the path to cross a wooden bridge, in the distance you will spot another Valravn figure which will disappear just as the previous one. Go through the near by portal in the opposite direction to where the animal skull if facing and the then through the new opening in the wall ahead of you. Open both of the locked doors inside, then track back to the portal you just crossed earlier and go through it in the same direction as before. Since the locked gate is now open you can use it to get inside again, go up the stone stairs and across the balance beam to find Lorestone 6/44. Go back and this time take the wooden ladder up to find a portal. Go through the portal, drop down the ladder and head out the other locked door you have not used before, this will lead you back to first area with the locked symbol door. In the middle of this area there is a wooden structure, find the new stone stairs that will lead you up to the top. At the top, face the gate and align the ravens to form the symbol and break the magic seal. The gate is now open.
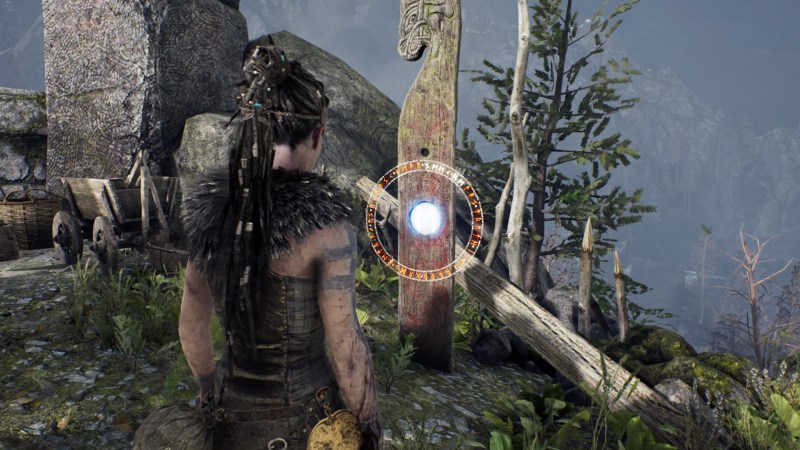
There is locked gate on your way, ignore that for now and continue until you reach a circular area and prepare to fight. Once the fight is over climb up the ledge near by to find Lorestone 7/44. Follow the path until the next open area. Keep going forward until you spot an inactive portal on your right, opposite the portal directly behind is Lorestone 8/44.
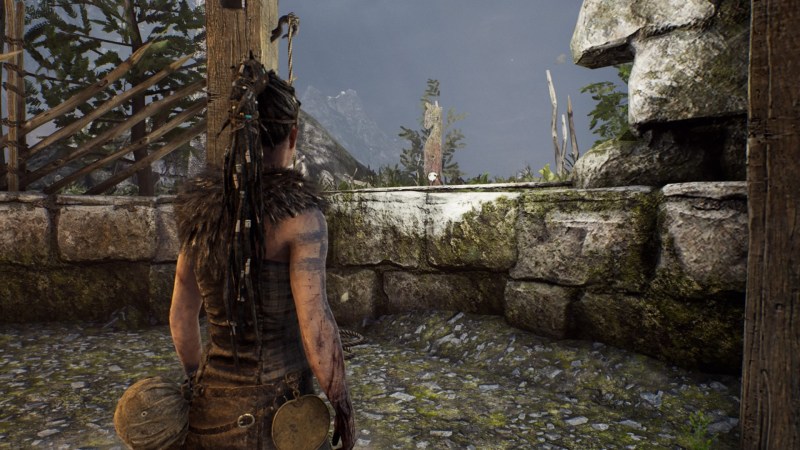
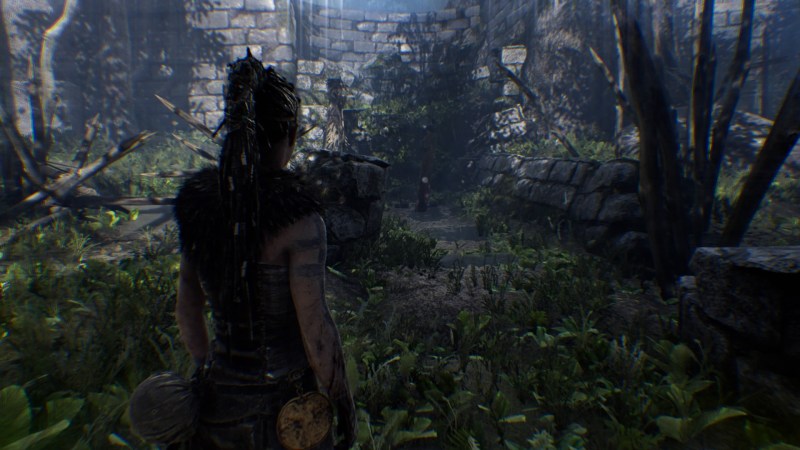
Back to the path, follow it until you go up some stone steps, there is another gate with a red symbol on it all the way at the back of this area, focus on it to activate the symbol. Senua will start having visions, where she will focus on two areas on the left and right from where she stands, that is where you will be heading shortly.
Head straight and go through the portal in the centre of the area, this allow you the see the wooden bridge you are facing is now lowered down. Cross the bridge and turn right to lower another raised bridge. Go through this bridge and go through the portal to your left, cross it in the same direction the animal skull is facing. Go back through the last wooden bridge you just crossed and again through the new opening in the crumbling wall. Open the locked door to your left and track back the last portal you crossed and then cross it again in the same direction you did previously. Once again go back across the bridge to the door you just opened, in front of you opposite the wooden stairs there is an opening in the wall you can crouch through to find Lorestone 9/44. Turn back and go up the stairs and follow the wall to find another portal, make sure you go through it in the direction the animal skull is facing. Going through this portal will cause some of the hanging ravens disappear which makes it easier for you to find the right ones.
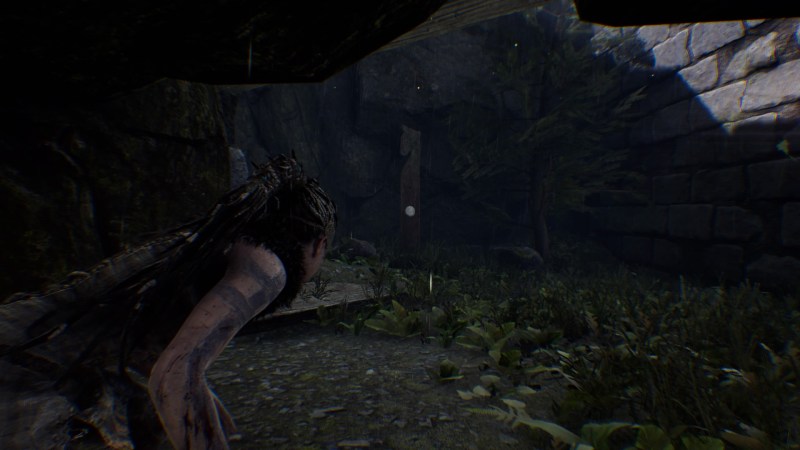
On the other side of the area, left of the symbol door there is another portal you can go through to reveal a balance beam you can cross ahead you. Once across take some stone steps and then a ladder up to find another portal to reduce the number of hanging ravens again, go through it in the direction the animal skull is facing. Go down and approach a wooden bridge you need to lower, stand not far from it, and look towards the red symbol gate to align the ravens and break the seal. You can now open the gate.
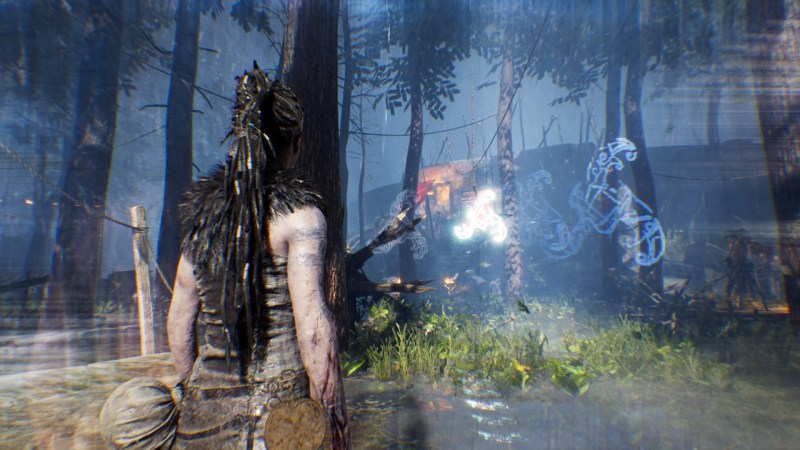
You will come up to another red symbol gate, focus on it to activate it. Turn around and go directly left through an opening and clime the ladder, go through the portal to reveal a large branch in the centre of the area. Going back down, stick to left wall and follow the stairs going up and then cross the branch to the other side. Keep going until you go through another portal and then cross a wooden balance beam, drop down and lower the bridge. Go across and up again to the last portal you went through. Go through that same portal again, drop down, go across the same wooden bridge once again and on to the new formed tree branch next to you. Once you reach the bird’s nest face the gate and align the ravens to break the seal.
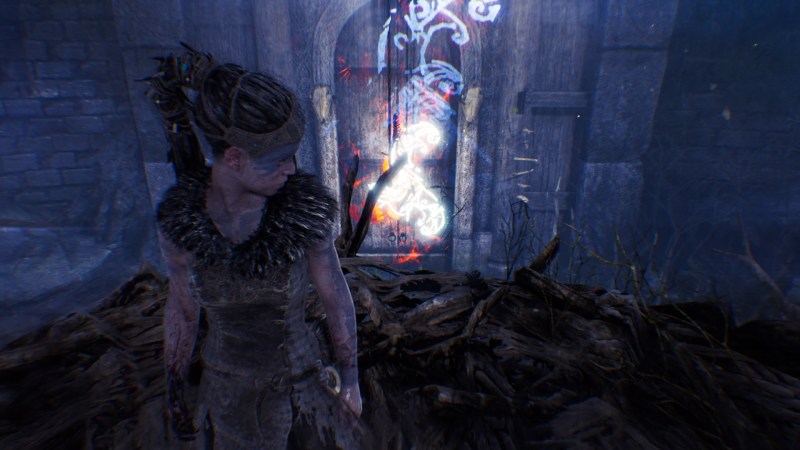
After the cutscene you now have position of the mirror. This piece is very handy in fights, once it is charged it can be triggered using the same button as focus to slow time and allow more room to land attacks. You will now have to defeat Valravn to escape. Once Valravn is defeated, go through the gate and trace back all the way the Hel’s gate. On the way back you will spot a face that you can focus on to trigger a short cutscene where Senua speaks to her mother. When you reach Hel’s gate be prepared for another fight, introducing you to heavier enemies including shield bearers, remember you now have the mirror to use whenever you want.
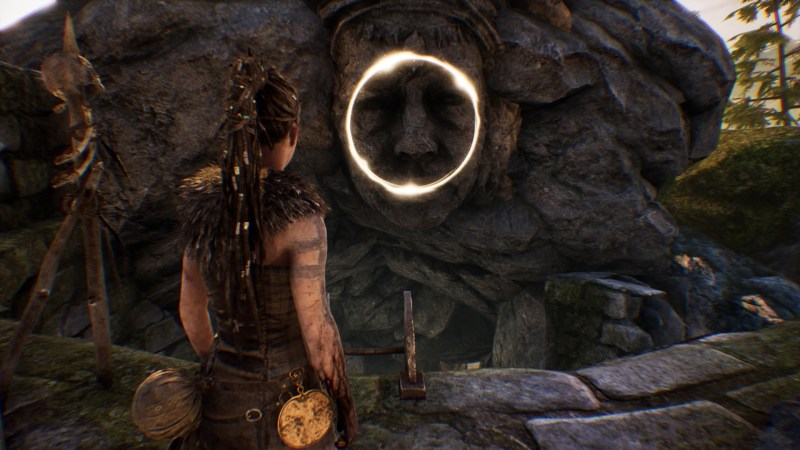
Surtr’s Keep
Inside Surtr’s gate, follow the path until you can see a bridge, head right first to find Lorestone 10/44 in a cave. Go back and approach the bridge, behind the waterfall there is another face you can focus on to your left before crossing the bridge.
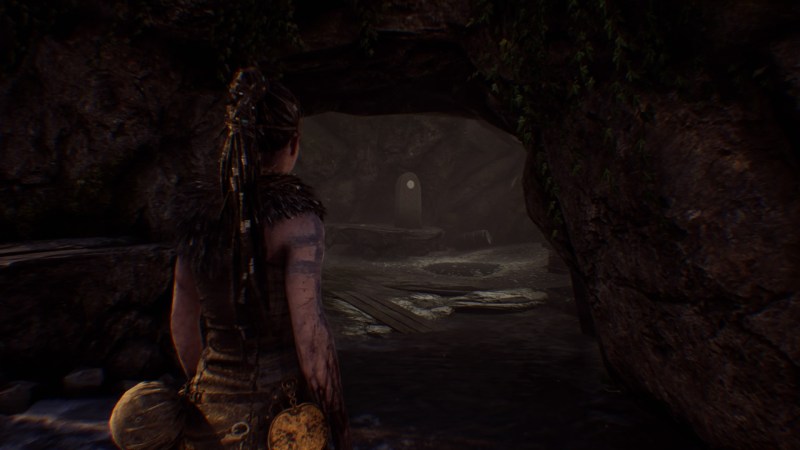
Follow the path to reach a gate with two lit braziers, as you approach this gate, another combat sequence will be triggered and Senua will draw her sword. Block as soon as she draws her sword because a shield enemy will strike at you continuously. There enemies will mostly attack in pairs, so stay on your guard. The best strategy here is attack the enemies without a shield first to fill your mirror, then once you have enough, slow the time and attack the shield enemies. When the fight is over focus on the rune gate to activate it and start looking for the runes.
The voices will tell you to follow the screams to find the runes. When you get closer to the right position you will see the red letters appearing around your screen, indicating you are getting closer. What you are looking for is the wooden pole resembling the letter Y on top with a burned corpse hung on it. For the next rune go up the hill behind you to find wooden poles forming a rune resembling the letter N.
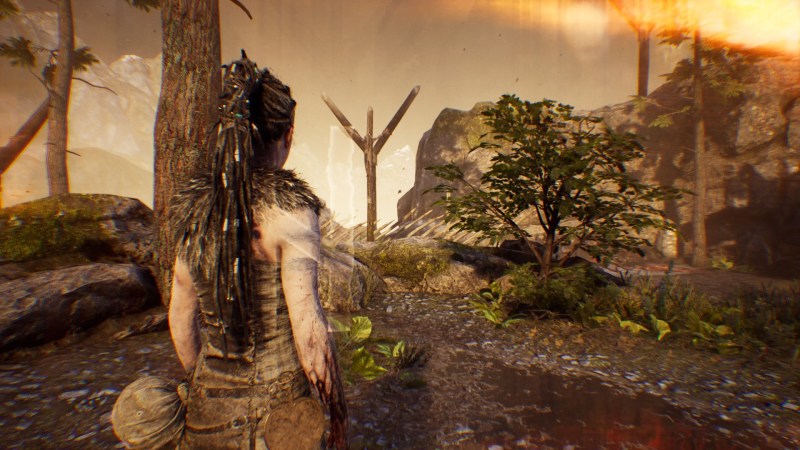
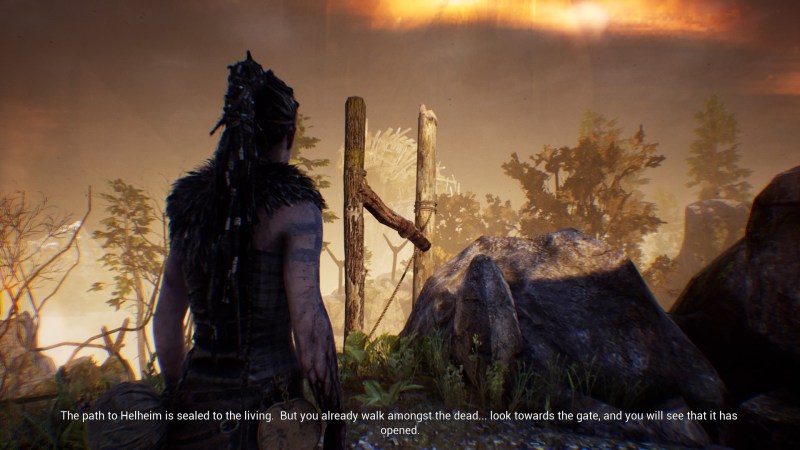
You can now go back to the rune gate and open it to advance. Follow the path to reach a gate with a yellow symbol this time. As you approach the gate enemies will attack you, they will mostly attack in pairs you have to fight at the same time. Remember your mirror can be charged be parrying at the perfect time. After you take care of all the enemies focus on the gate, then when facing it turn to your left and follow the new path going up through a wooden door frame. Turn around the alter and face the yellow painted face on it, walk closer and focus to trigger the next short cutscene. Once you gain back control run straight back and go through the yellow symbol gate.
Follow the path a short distance to reach the top. The gate in front of you is blocked for now so continue following the path to your left. When reach the bottom of the walkway before the path continues further down, look to your left for Lorestone 11/44. Going back to the path, continue following it down where you will soon reach a yellow symbol gate you can focus on. Continue going down past the gate to reach an open area.
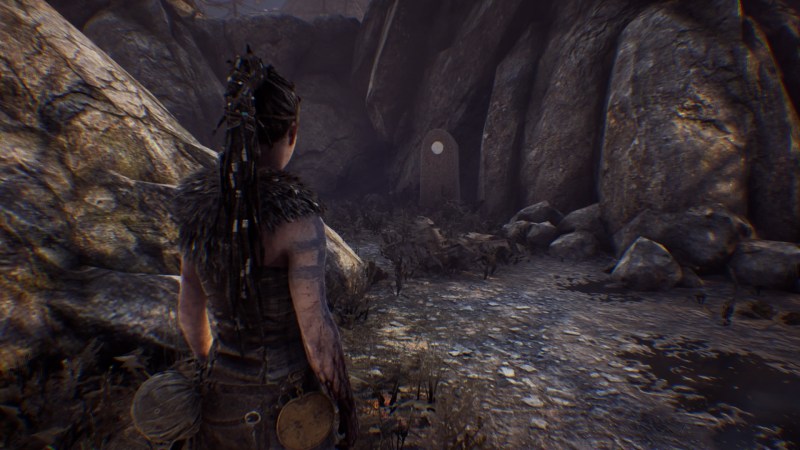
In this area, if you stick to the right side following the rocks you will find Lorestone 12/44 at the top right corner. Head towards the opposite corner of the area, the top left from where you first entered, to find a small path going up, go forward and pass a balance beam to find another alter with a yellow painted face you can focus on if you get close. When you gain control go right following the path outlined by fire, drop down and continue going between the burning trees until you go through the yellow symbol gate.
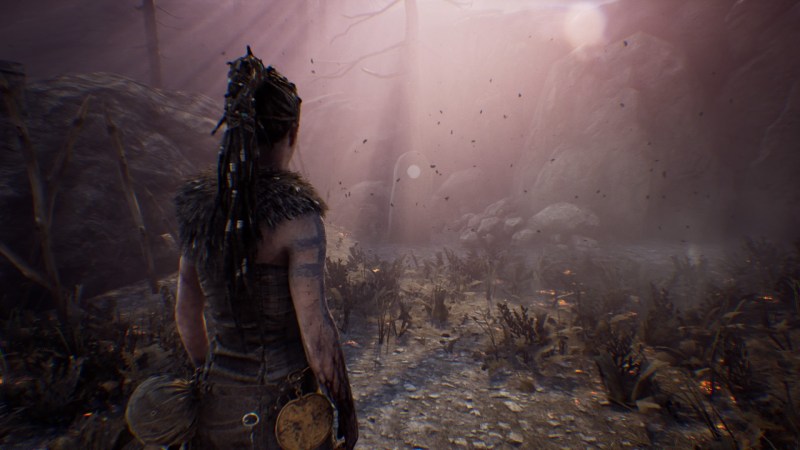
Going forward you will reach a somewhat open area, behind you on the left there is yet another yellow symbol gate you can focus on. Turn around and head straight towards the opposite side of the area, you need to open this rune gate first to be able to go through the yellow symbol gate. After focusing on the rune gate turn right and head to the burned house, stop right in front of the house and turn around to spot the first rune formed by the trees.
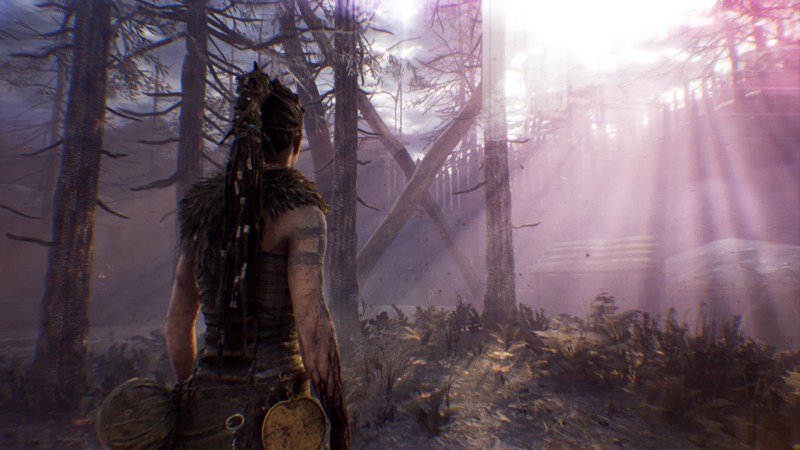
Enter the house and take the stairs to the upper floor, cross the balance beam and when you get to the other side approach the ledge and turn right to look at the ground below to find the other rune formed by the light seeping through the trees. Drop down to your left and turn around to find Lorestone 13/44.
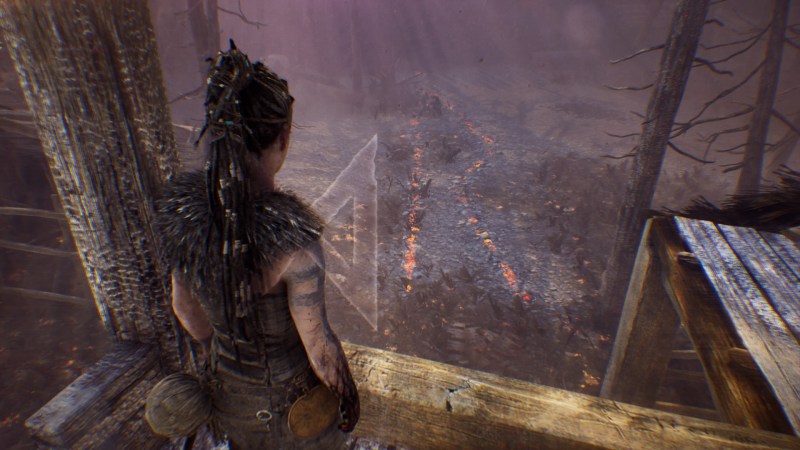
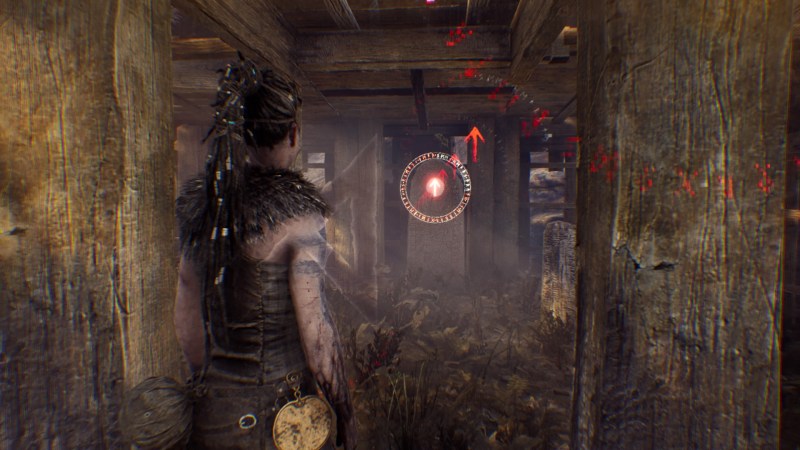
Now you can unlock the rune gate, inside is another alter with a yellow painted face. Once again focusing on the face will make the ground all around on fire, so you need to run. The direct path to the yellow symbol gate is obstructed by burning trees and branches, run left to go through the burned house you were at earlier. Keep to the left side while inside the house, the small gate in front of you is closed so turn right to loop back to the stairs leading to the upper floor, continue across the balance beam and then finally drop down. When you exit from the building to the open area there is going to be three enemies you must fight first before finally going through the yellow symbol gate.
After a short cutscene drop down and then climb the ladder on the right. You find yourself in a house, take the first exit left and stop in the middle of the bridge, drop down to your left and focus on the rune gate ahead of you. On the opposite side behind is another yellow symbol gate, going down the stairs from that gate turn left and then left again and climb the tower to find one of the runes. The rune is found by looking at the roof of the house to the far left.
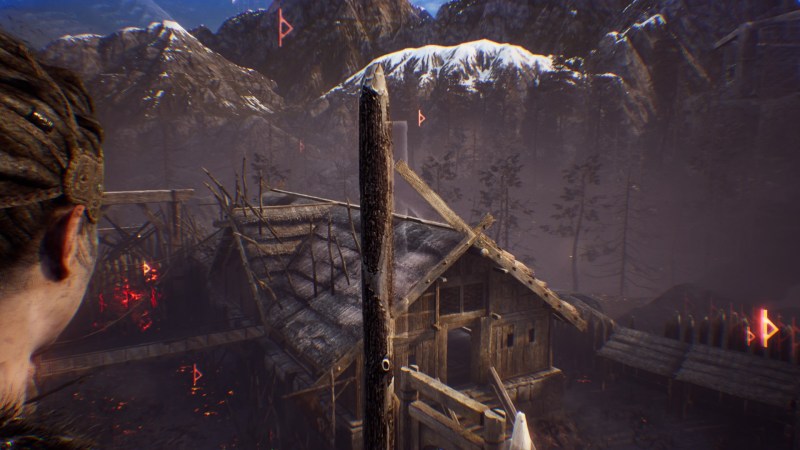
Go back down the tower and enter the house near you, walk slowly forward to align the next rune.
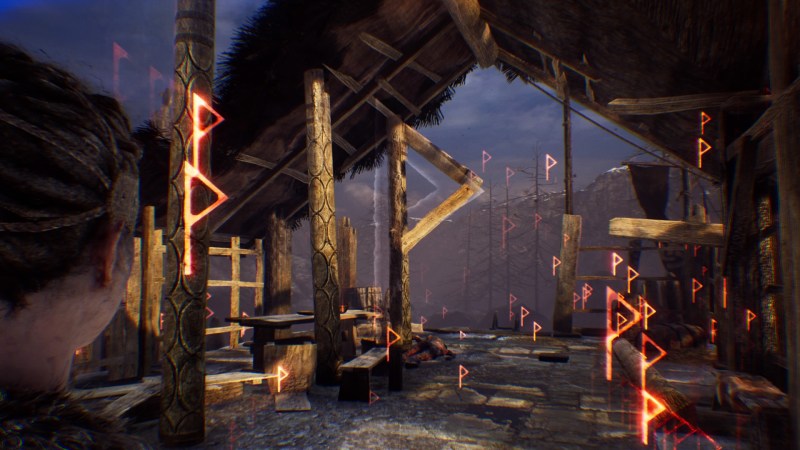
Take the exist to your right and cross the bridge to the other house, as soon as you enter you can notice the rune in wooden panels in front of you to the right. However, you can’t focus on it yet because you need to view the rune from the other side to align it correctly. But first, turn left to find Lorestone 14/44 outside. Now back to the runes, turn right from where you entered the house and run down the stairs and left around the house to view the rune correctly from the other side.
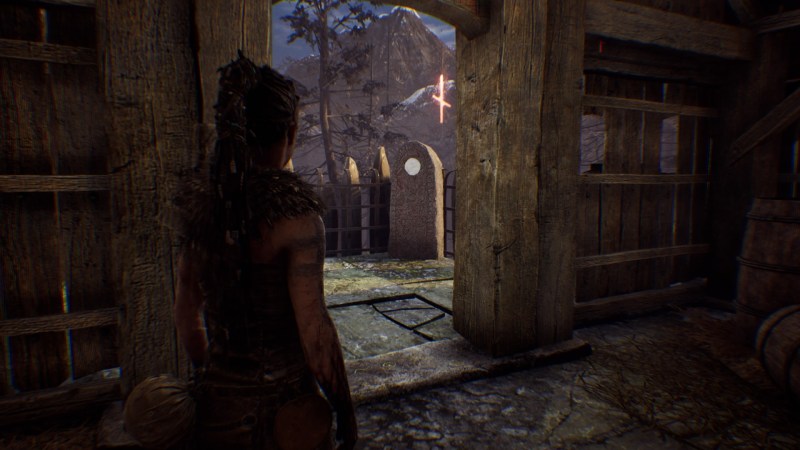
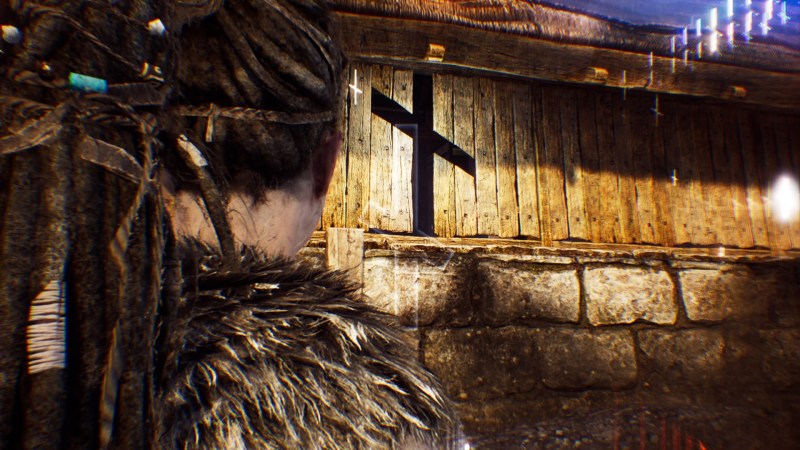
With all the runes found you can go back to the rune gate through locked door nearby which can be opened from this side. Inside the rune gate you will find the last alter, get close to focus on the yellow painted face. Everything will start burning, don’t worry about the fire just run forward through the gate. Senua will collapse, leading to a cutscene before the fight with Surtr.
This fight takes place in a small arena, the best strategy is dodging to the side to evade most of his attacks. When he is about to strike his massive sword to the ground dodge backwards first then attack to avoid a considerable amount of damage, if he engulfs himself in fire and primes for attack, keep attacking to break it. Remember to use your mirror with focus whenever it is charged. Once Surtr is defeated go back through the opened rune gate, past the alter and back all the way to Hel’s gate.
Hel’s gate is now open to you, and after the cutscene you will find yourself other side. Halfway through crossing the bridge there will be few enemies spawning, including the mace enemy and a shield bearer. When you walk inside, you will face a new enemy type in front of the gate. This enemy has a huge axe and new moves, he will occasionally hold his axe with both hands and start charging towards you, dodge out of the way. Few more enemies will join the fight as well.
Once that is take care of, go through the double doors to find a rune door inside. After focusing on the door, turn back and take the opening to your left to find Lorestone 15/44. Walk outside on the ship and look towards the area where you just fought the enemies to fix the stairs using focus. Before heading up the newly mended stairs, look up in the centre of the area to find some hanging wooden structure. There you will be able to find all the runes, but they have to be viewed from different angles. For the first rune, stand with the stairs to your right and focus on the structure to reveal the rune.
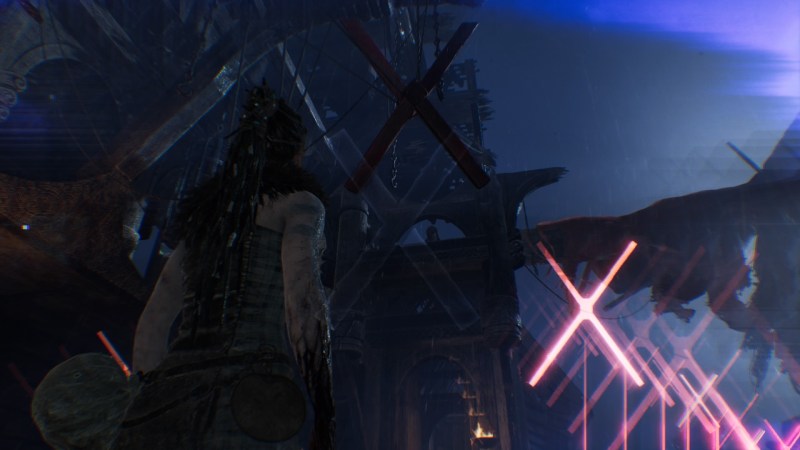
Next, go up the stairs and follow the upper walkway until you are standing opposite the stairs, focus on the wooden structure to reveal the next rune.
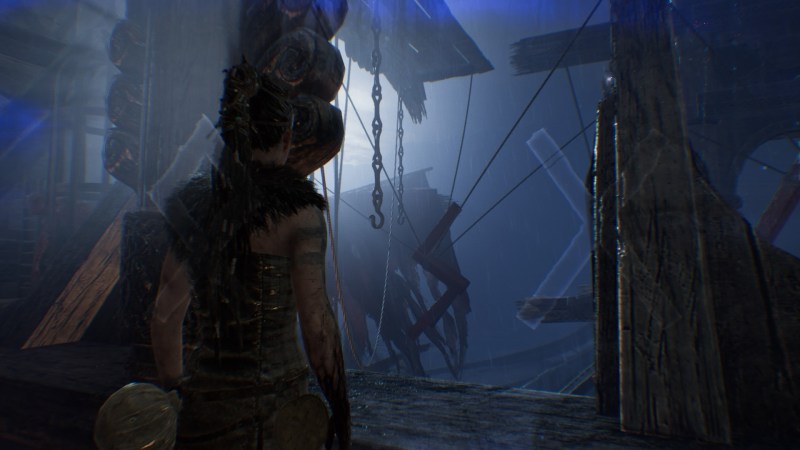
Follow the walkway and when you turn the corner go up the ladder to focus on the wooden structure again and reveal the last rune.
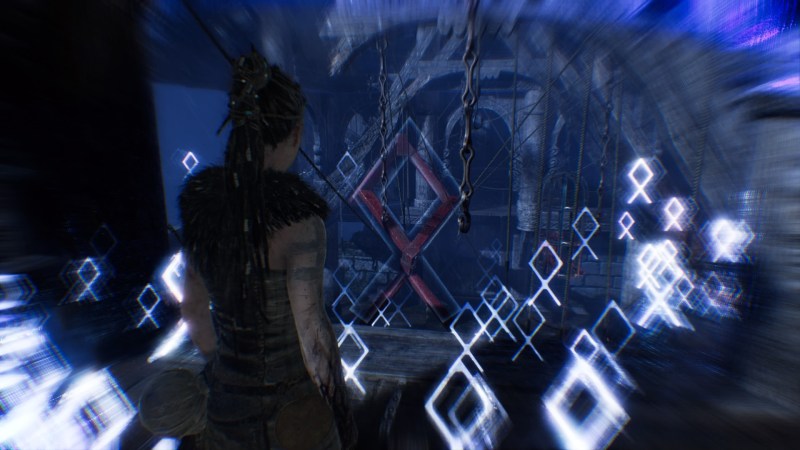
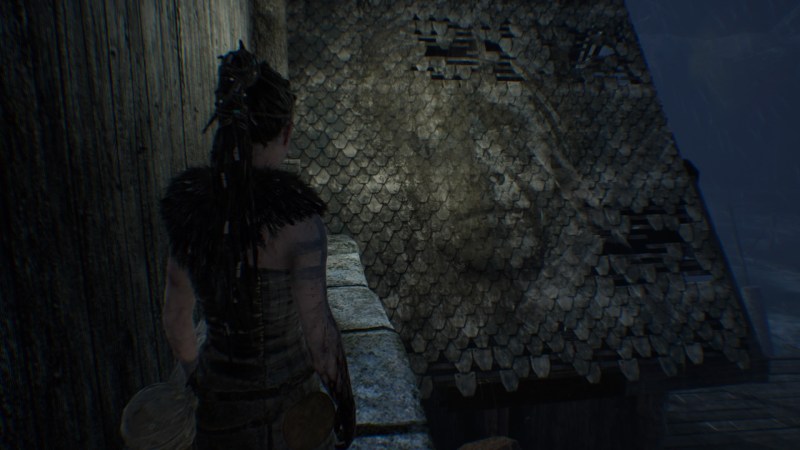
Drop down the ladder and then down another ladder to your right to find Lorestone 16/44 in the corner. If you went straight after the first ladder and followed a narrow ledge around the building there is another face you can focus on, seen on the roof. Finally return to the rune gate to open it and proceed onto the bridge to the next area.
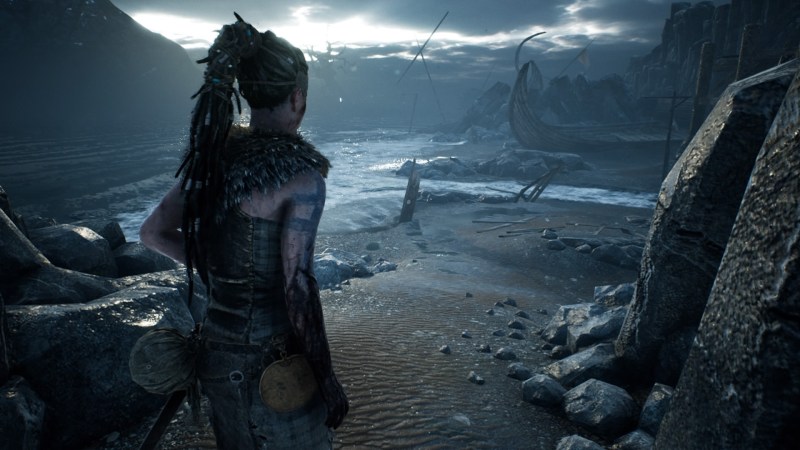
After the cutscene you will wake up on a beach, keep heading towards the bright figure in distance and follow the path until you reach the open area where you can see few wrecked ships crashed on shore, Lorestone 17/44 is directly on your way after you drop down.
To find Lorestone 18/44 stick to the right side of the area while you make your way up to the gate in the distance. You cannot open this gate right now so do not worry, the lorestone is under the gate near the bridge support.
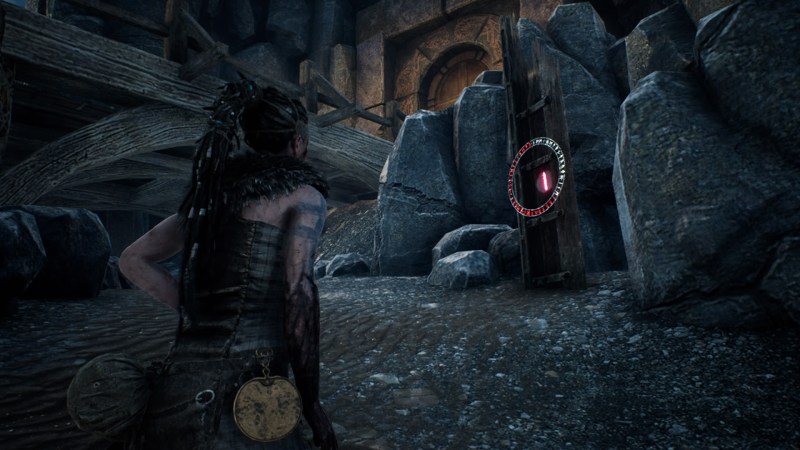
Drop down the ladder to your left and keep heading down the beach, when you start to see a white flag on top of the wreck look for an opening in the ship’s hull to your left, then go left again to find Lorestone 19/44 behind the rocks to the right near the water. Alternatively, if you cannot find it, once you dropped down the ladder head across the area to the edge of water and keep heading right until you find this lorestone.
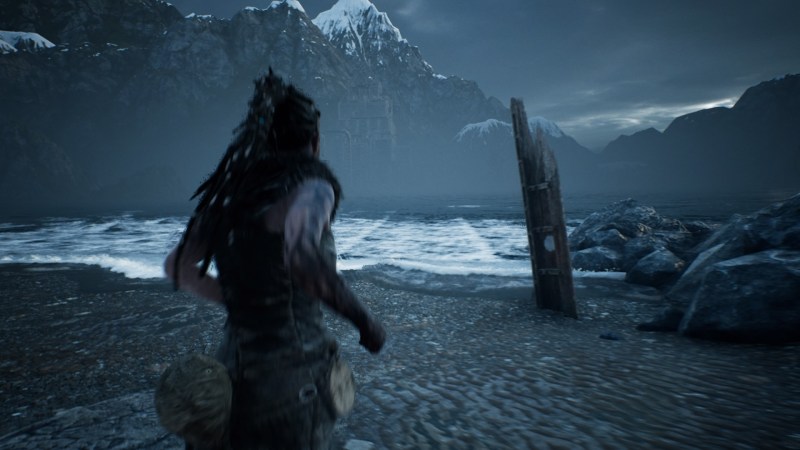
Return to the path and follow it until it starts to curve left, instead of continuing left go right first where there is yet another Lorestone 20/44 to your right.
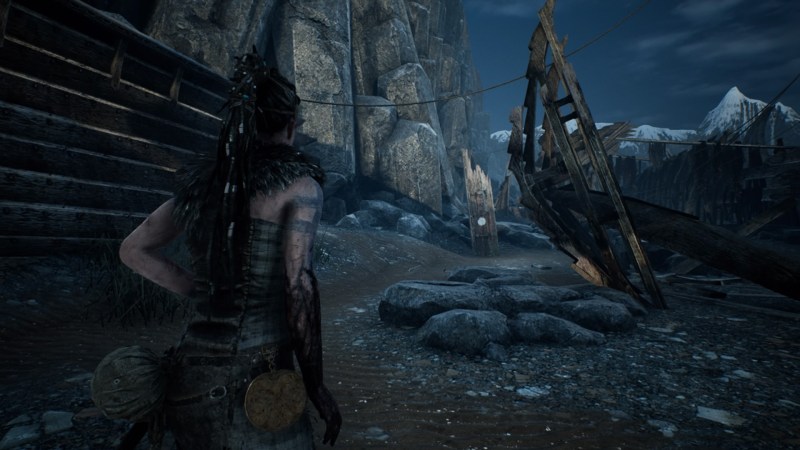
After the cutscene you will be in front of the large tree at the end of the path. Keep going left all the way around the tree, Lorestone 21/44 is halfway to your left and Lorestone 22/44 is in the distance opposite the path heading up to the tree entrance.
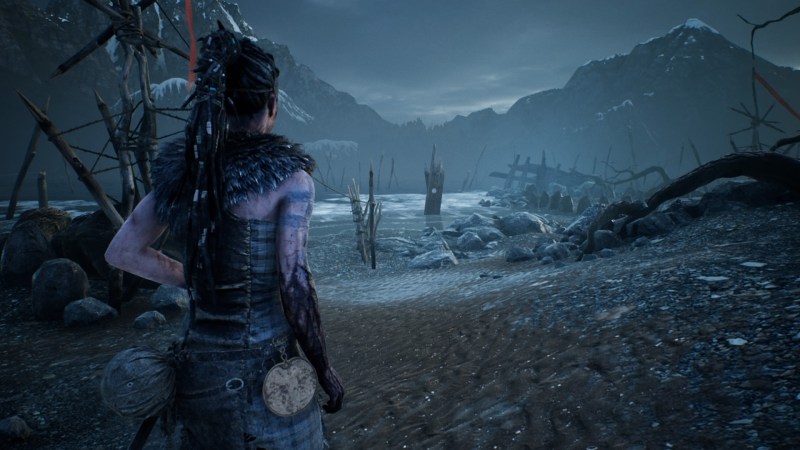
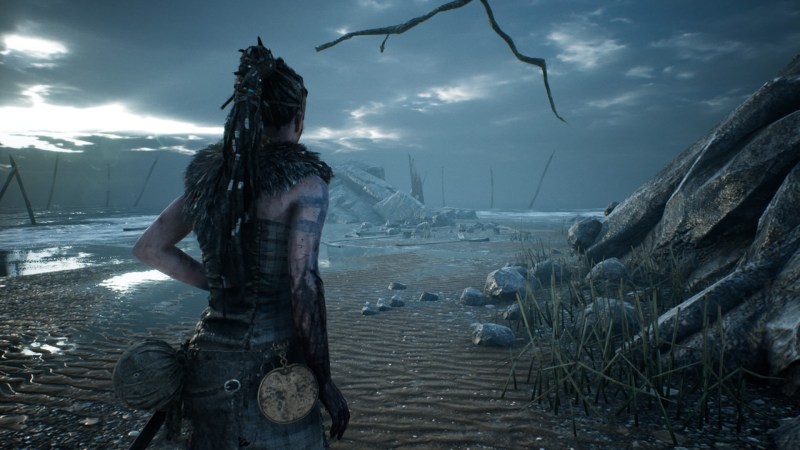
After activating the tree, press square to pull the sword from the tree, and viewing the cutscene there are four trials you must complete to proceed, these can be done in any order. Remember you still do not have a weapon, there will be enemies in some of the trials but do not worry about any fighting and focus only on finding your way around them.
The Labyrinth Shard Challenge
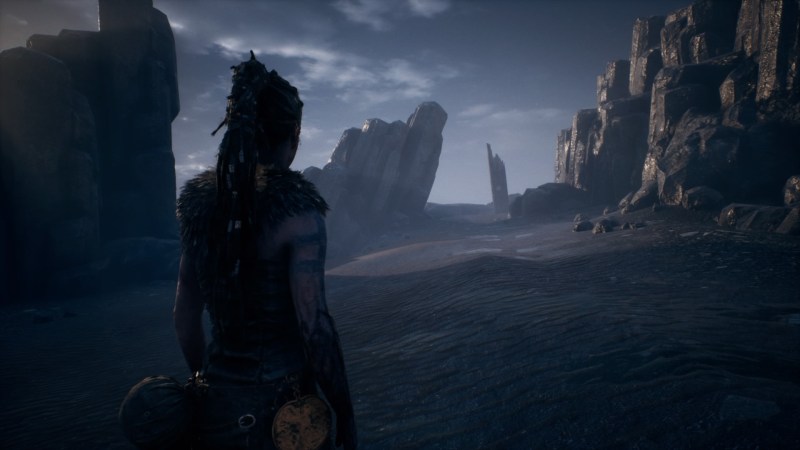
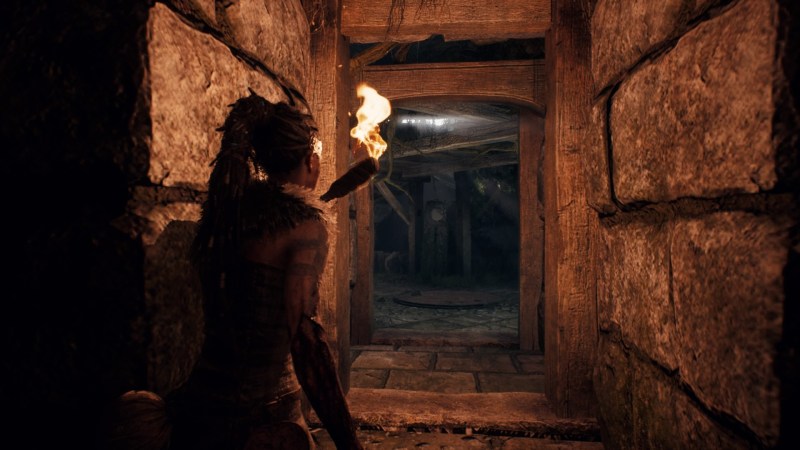
This trial is to your right down the path when facing the tree after the cutscene. When you wake up follow the shoreline to the left to find Lorestone 23/44. Follow the rocks to your right back until you find a path going up. When reach the top, there is a doorway where Senua can pick up a torch and head inside the maze. It is a maze so try not to get lost and light the torches on the walls that you find along the way to help you determine which rooms you have visited already.
In the first room it is quite dark, turn right and go to the next room, there is a map of the maze as you enter directly under the unlit torch, at the right end of this room there is window you can approach to see the bright figure you are chasing. Go back to the previous room and take the left this time, left again in the new room, this leads to the room with Lorestone 24/44 in the left corner behind a half crumbling stone wall. Go back to the previous room and take the right this time, then left in the next room to reach a room with the Lorestone 25/44 in front of you as you enter.
In this room Senua will say she can hear him, and you will find another map of the maze under the lorestone. Head right in this room, this is the only way out as the left path is blocked, the voices are getting louder now as you are nearing the exit. In the room you are standing in now, if you go right you will reach the exit on your right by crouching under a small opening under the stone wall at the end. However, if you want the last lorestone in this area you will have to make a detour. From exit room, go left, right to the room with the unlit torch, right to find Lorestone 26/44. Now track back to the exit, to leave this room go left from where you stand and left again in the next room, now in exit room face the torch and the shield hung on the wall above it and go right to exit this section. Unfortunately, you are not quite out yet, follow the path to reach yet another room. Go right then right again to spot a red lit door on your left, interact with it to clear the trial.
The Swamp Shard Challenge
This trial is the closest ahead of you when you drop down from the ledge on your left while facing the tree. When you wake up head straight and then cross the bridge to your left, drop down and keep right until you go through the door of a half sunken house. Follow the path until you see a stone illusion portal to your right, just like in Valravn’s keep earlier, cross the portal in the direction the animal skull is facing to reveal an opening in the wreckage ahead of you. Go through and keep right out of the swamp then left to go in the swamp again. Follow the path until you see another stone illusion portal and cross it in the direction the animal skull is facing to reveal an opening in the wooden spikes and fence. Go through the opening to see Lorestone 27/44 and another portal.
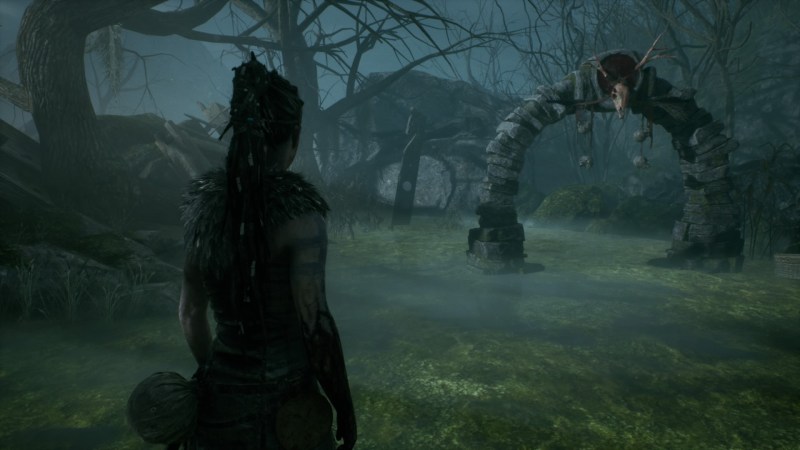
Again, cross the portal in the direction the animal skull is facing to reveal that the doorway in front of you is clear now. Go back to the last portal you crossed before this one, go through it to make the fence appear again and return here through the open door this time. Go up the stairs and ladder to your left and then across the ridge. While on the bridge look right and focus on the small bridge below you to fix it. Finally, go back through the swamp to the newly mended bridge leading to the blue lit house.
Inside the house on your right there is Lorestone 28/44, on your left there is a rune gate. Make sure you get the lorestone first before the rune gate. Focusing on the rune gate will make a new area appear inside the house, there is a fire entity at end of hallway that will be chasing you around as you look for the runes, and you will die if it reaches you, so start running. This area can be confusing and easy to get lost while you are being chased, in that case you might want to see a video guide first. The directions here are shown from the starting position after the cutscene, you do not have to take the exact path and the fire entity’s movement might differ for each playthrough.
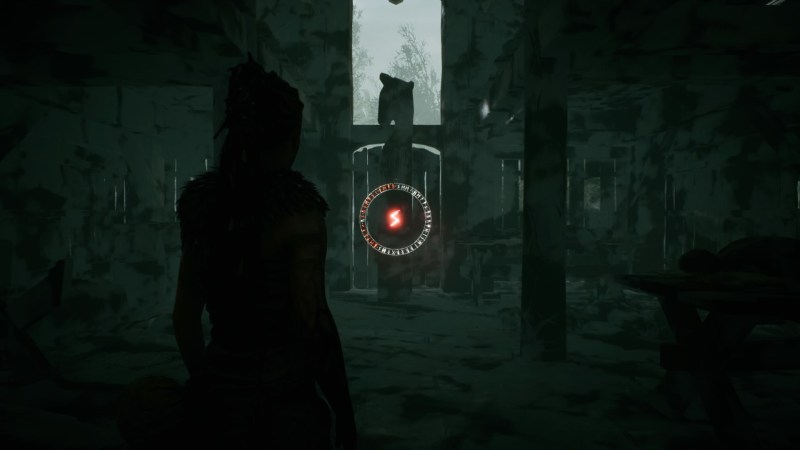
When you gain control take a sharp right as you start then go left towards the slightly lit area. The first rune is on the wall to your right in the lit area. Turn left from the rune then left again, turn around and hug the right wall until you can turn right. Turn right then take the first left, then straight away go under the half wood wall to your right. Turn left and go until you hit the wall, turn left and then right immediately around the corner, when you hit the wall again look left for the next rune at the end.
From the rune, turn left and go through the opening on your left, take a left then the immediate right. Turn right and go under the half wall on your left to find the last rune. From the rune turn left, right and then left again and go diagonally right to go back to the hallway you started at, rune towards the rune gate to interact with it and end this trial.
The Tower Shard Challenge
This trial is further down the beach to your right from the swamp trial. When you wake up head down the bridge. The end is collapsed so you cannot advance yet, instead go right and lower the wooden bridge to access the small island in the middle. There is a huge mask in the centre facing the tower, focus on the face to shift perspective and change the environment around you. The shift in reality will make the collapsed section of the bridge appear intact again; you can cross it to get closer to the tower. Lorestone 29/44 is left of the main entrance in the corner. There is a rune door you can focus on at the entrance to the tower, there are to more small gates on each side that you will not be able to open yet. Go around and don the bridge opposite the one you used before, lower the wooden bridge to get access to the face again, now shift reality then go back to the tower using the newly lowered bridge section. On the right side the small gate in the fence is now open, inside on the right there is another face you can use to shift reality. Focus on the face and use the open door to go inside the tower.
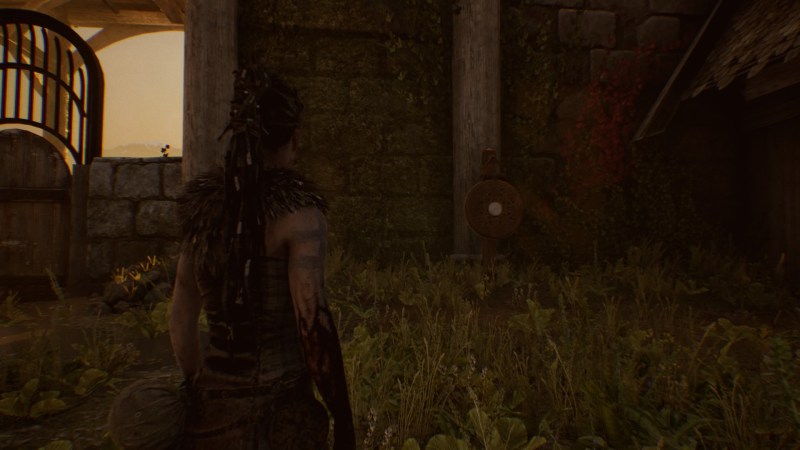
Inside the tower, you will find Lorestone 30/44 in the middle between the two wooden stairs, make sure you open the door opposite the door you used to get inside and the small gate in the fence outside there. If you look under the bridge to your right in the distance there another face you can talk to, or it will talk to you.
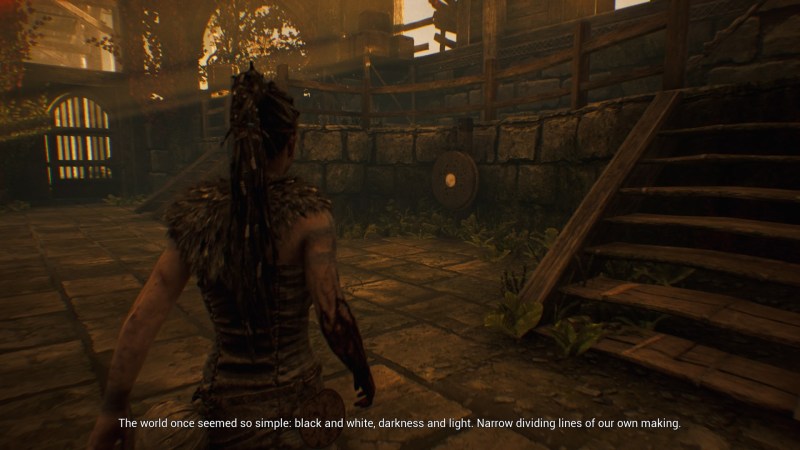
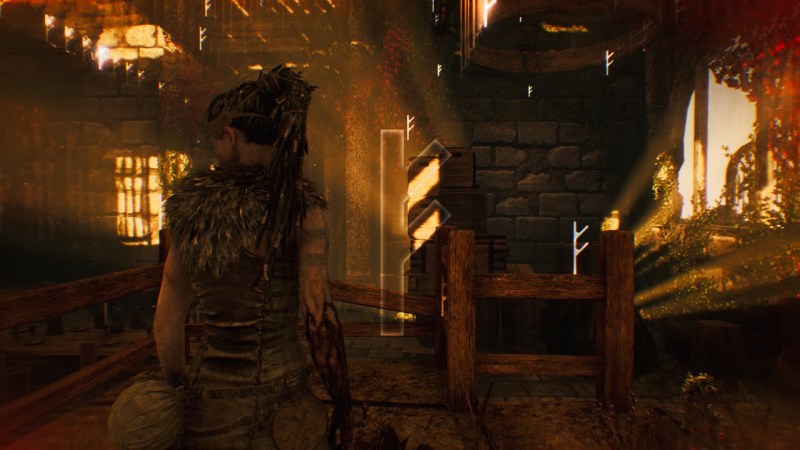
There is only one rune to find this time, go up the wooden stairs and face the tower entrance. The rune you are looking for is reflected on the wall and boxes slightly right of the entrance.
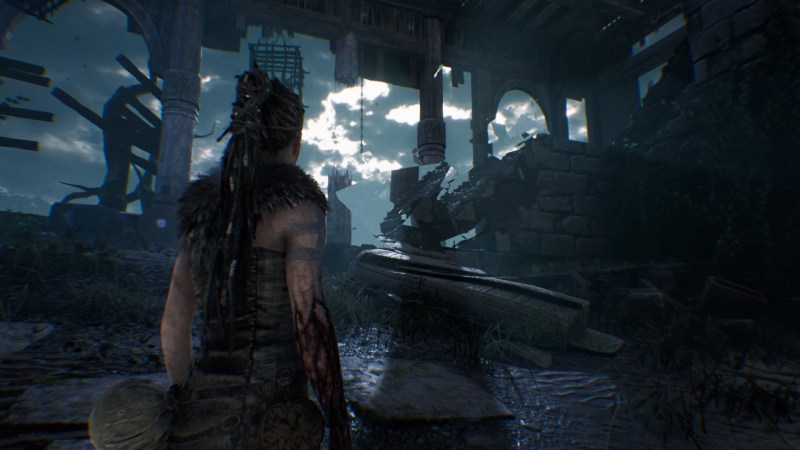
Go back to the face and shift reality to return to your current/dark world. Now that you have the rune, go to the rune door at the tower entrance and use it to get back inside again. Inside the tower, Lorestone 31/44 is at the back near the broken stone stairs, focus on the stairs going up to fix it.
At the top of the stairs there is Lorestone 32/44 ahead to your right, and a rune gate you can focus on straight at the end of the floor opposite the stairs you came in. Go up the stairs behind you, lower the raised bridge to your right shortly after you reach the top, you can use this as an exit later. Focus on the face to shift the world then head towards the two doors at the end of the walkway. Open both doors and find Lorestone 33/44 in the middle of the two doors.
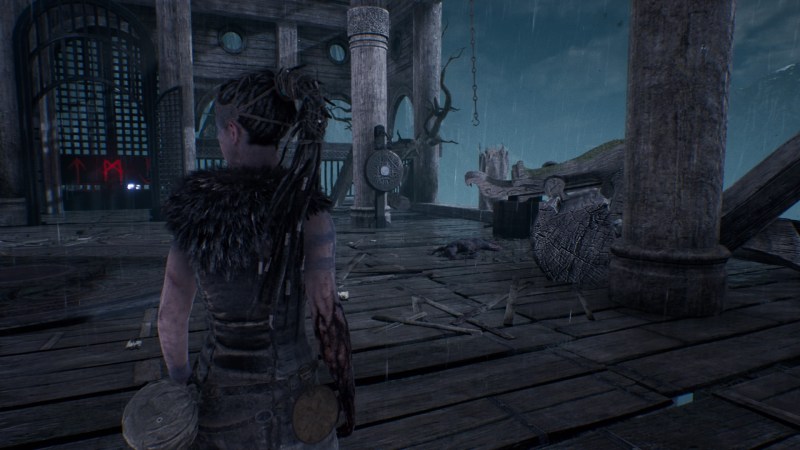
Go back to the face and shift the world once more, in the dark world go outside to the balcony through one the doors you just opened to find the first rune outside on the bridge. Go back inside again through the other door this time, go all the way to the end then turn right and right again to lower another raised bridge. Focus on the face, go out again to the balcony behind you to find Lorestone 34/44 to your left. Turn around, on the opposite end of the balcony the next rune is on the wall to your right.
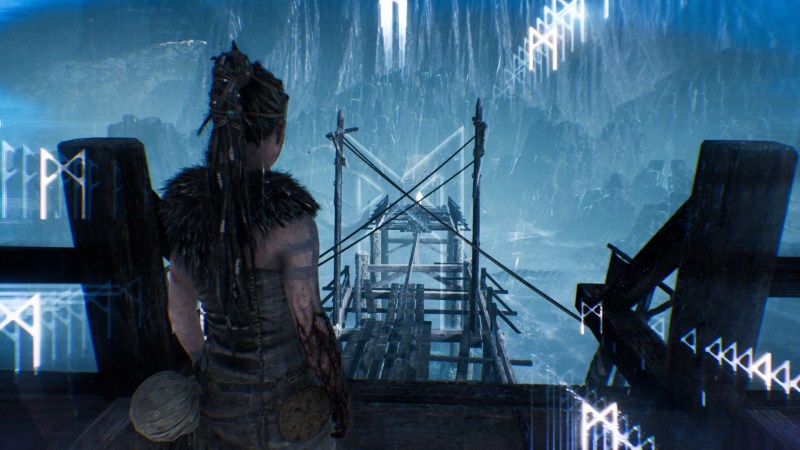
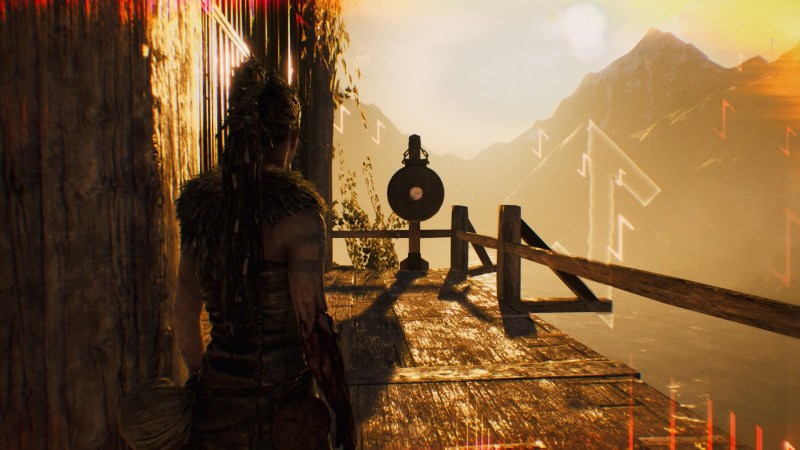
Finally go downstairs to the rune gate level to find the last rune on the wall next to the stairs, opposite the gate. The only thing left to do is focus on the face next to you to shift the world one last time and open the rune gate. Outside, cross the balance beam and keep heading forward towards Dilion until the cutscene triggers and you cleared this trial.
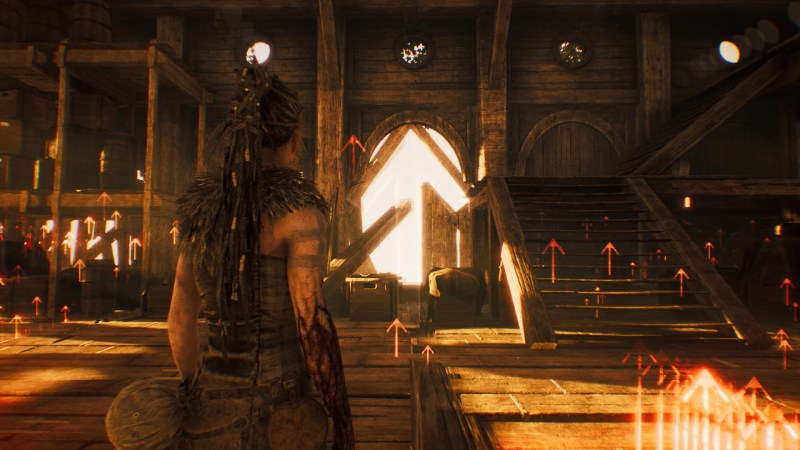
The Blindness Shard Challenge
To reach this trial drop down the ledge on your left when facing the tree and follow the path to the left until you find it, this would be the first stone you encounter when you entered this area with the tree for the first time.
This trial is quite different from all the others, first of all there are no collectible lorestones here so do not worry about it. The entire trial is pitch black, you will be guided by sounds and very dim shapes to find your way out. The game suggests you play with headphones for a better experience, that is also particularly useful in this section to make it easier to know the exact direction the environmental sounds are coming from.
You wake up in a dark area with no sense of direction, a voice is talking to you and you can hear some wind, pay attention to this voice as will help find the directions to follow occasionally. Follow the direction the wind is coming from until you pass some kind of door, go slightly right then you will be able to hear some fire crackling, depending on your gamma settings you might be able to see faint flames in the distance. Head right from the fire to follow the sound of running water, you shortly be crossing a wooden blank. Once you reach the river the voice will tell you to follow it up stream, so follow it left to head up stream, the river is slightly brighter than the environment around so it is easier to see if you are still following it, when you start to see bodies lying around you will know you are on the right way. You soon reach an area where you have to crouch and there is a waterfall so you cannot keep following the river, head left to find a house with a torch outside that you can make out in the dark. Head upstairs, move forward and Senua will fall through the floor, you can tell that something is there with you, an entity or a monster of some sort. Move slowly and quietly so you do not get noticed. To find your way out of this house start by heading straight, the way out is to your left a short distance ahead through a doorway, you will have to pass uncomfortably close to the monster so be careful. You can hear a torch at the exit, go through the door right of it.
Outside the house there are many monsters patrolling, you can barely make them out in the dark, it seems to be safe next to the lit hanging braziers that you find on your way. The objective is to move between the fires and avoid running into the monsters before you reach the next fire. There are about four fire stops until this area’s exit which is another house. So, take your time standing by the fire and observing the monsters as they move around in and out of your way, then once you have a clear path head to next fire when you feel it is safe to do so.
Once you reach the next house move forward inside until she start swatting bugs away, about two more steps ahead to your left there is a slightly lit balance beam you need to cross, on the other side there is a well, Senua will approach it and then fall down through it. You will land in water with monsters and hanging bodies all around it. There is a light in the far end, this the exit you need to be heading to. There are many monsters around but only about three of them are directly on your path, keep moving forward carefully while avoiding the monsters and hanging bodies, you should also deploy the same strategy from the earlier section about observing the monsters and quickly moving when the monster in front of you moves out of your path. You will finally reach the doorway where Senua can exit this area, it is safe from here so just head towards the light.
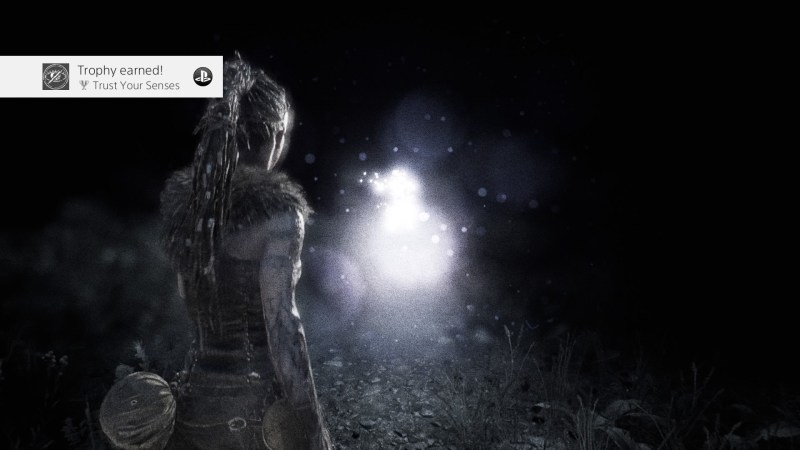
Once again you are back at the tree, after finishing all trials. Go inside and pull Gramr out of the tree to replace the sword you lost fighting Hela earlier.
Sea of Corpses
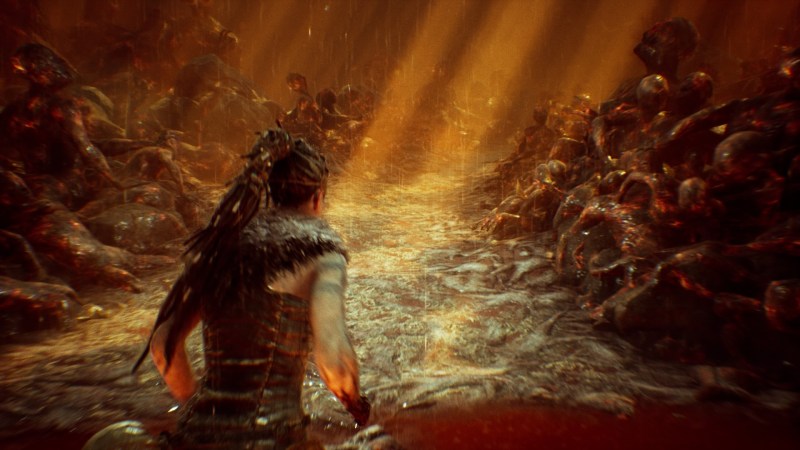
Pulling the sword will take you to the Sea of Corpses, this next area is all about fighting! You will be fighting waves of enemies with your newly acquired sword in each section as you move forward, there are also no lorstones here so focus on staying alive. The best strategy is to always use perfect parry whenever you can to make the ghosts physical so you can attack them or charge your heavy attack until your sword lights bright and then hit the ghosts to force them to appear. Also, remember you have the focus mirror which slows time, keep it charged through parries and use when you need to but specially against the bigger tougher enemies. Be reminded that enemies will often attack in pairs or group so stay alert.
Once you land in this area you will be attacked there shortly so be prepared. Keep moving forward, fight the enemies on your way and once you are clear follow the path to the next area and fight again. Keep advancing and fighting until you finally reach the end and can exit the water and leave this grim area.
Helheim
Remember the locked gate at the side of the mountain you ignored sometime earlier at the beach, the gate can be opened now so head back there. Welocme to the mountain, you are entering Helheim now. Go through to find Lorestone 35/44 directly ahead of you, make sure you focus on it before dropping down to a bridge on the left side as you cannot go back. Cross the bridge and approach the gate. The cutscene will explain what you have to do in this next area, which is avoiding the shadows. The area is guarded by Fenrir which will attack you if you stay in the shadow for too long, you will always want to run towards the light. Go through the gate and run straight until you reach the area in the middle lit by the daylight seeping through the ceiling. Rest for a couple of moments then run straight again to the rune door at the end. There you will find a torch that Senua will grab, you are safe as long as you have the lit torch in your hand and can now move freely if you want to explore. Do not forget to focus on the rune door.
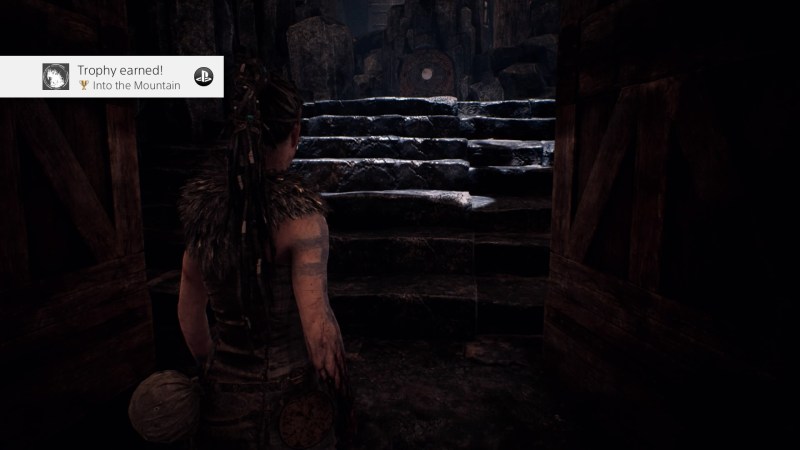
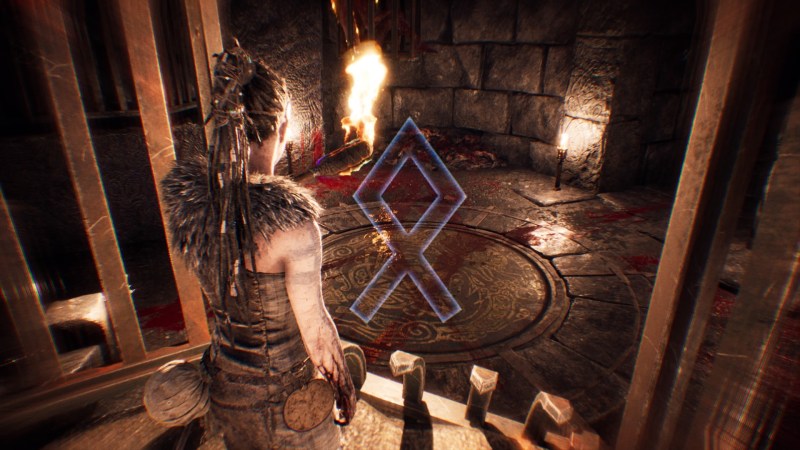
To find the easiest rune first, turn around and head back the lit area you rested at earlier. Turn right and go until you are descending some stairs, there are enemies in this area so be prepared. Once you clear the enemies pick up your torch back, Senua will have most likely dropped it during the fight. You can light the torches around the room, then go up the short stairs in this room and focus on the floor below to see the rune.
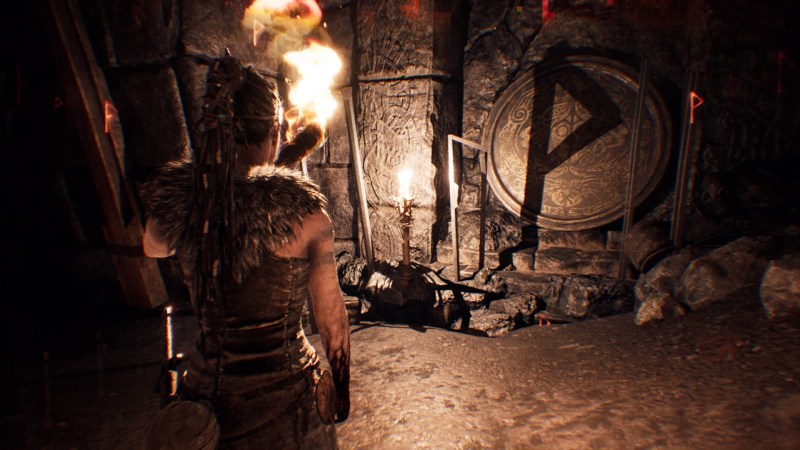
For the next two runes, return to the rune gate, then turn around and take the first turn left. Go up the spiral stairs on your right first and follow the path until you reach a room with one unlit torch in the corner, light it to spot the second rune cast as a shadow on the wall behind it. Carry on to the exit and open a door locked from your side. Turn right and then right again to go back to the same spiral staircase you were at earlier, but this time take the stairs down.
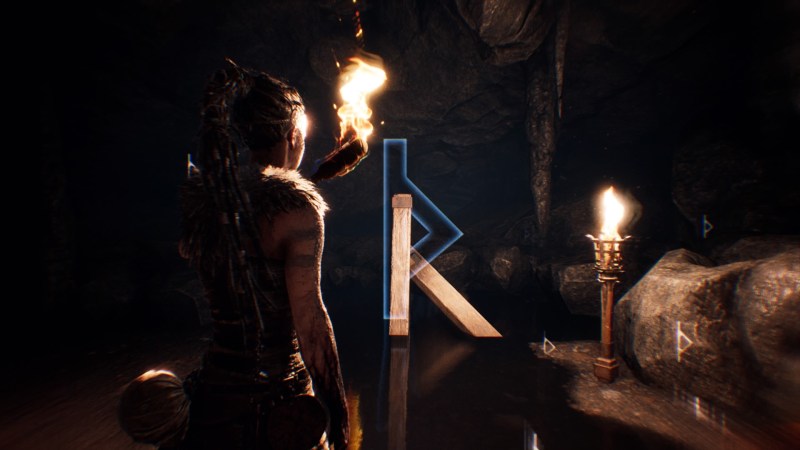
At the bottom of the stairs, you will have to go in the water to advance, Senua will dive at some point and you will lose your torch. As soon as she resurfaces again start running to the lit area ahead. When you reach the cave look to the right to see few light beams that you will be safe at and a fire in the distance. At the second light, you will start to see the red runes all around your screen indicating the rune you are looking for is nearby, but do not worry about it now as you will get it in a second once you have another torch. Run between the lights until you reach the lit fire, there is a torch in the brazier that you can pick up. Now that you are safe you can turn around and go back into the cave to explore. Straight on the other side of the cave is a wooden entry way, go through and follow the path to the end while lighting the torches on your way, the last rune is found there on the wood piece half reflected in the water.
Before you leave the area, Lorestone 36/44 is outside opposite the wooden entry way, to the right from where you entered the cave the first time. Leave this area through the stairs next to the fire where you picked up your torch. At the top of the stairs before you exit, there is a small opening in the crumbling wall to your left where you can climb up to find Lorestone 37/44.
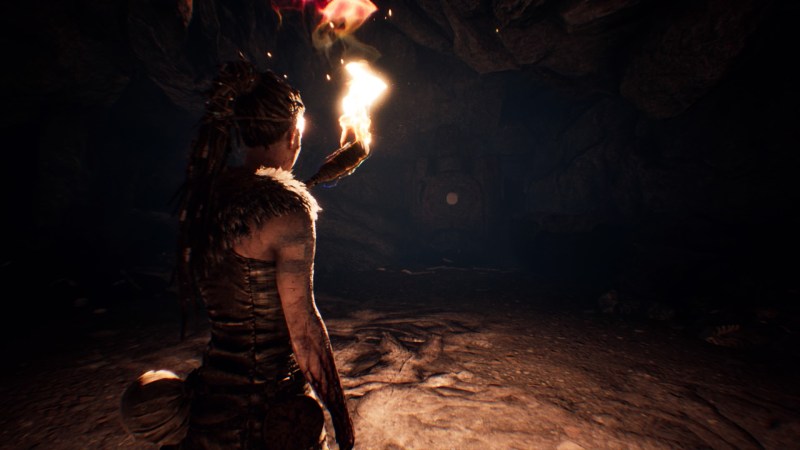
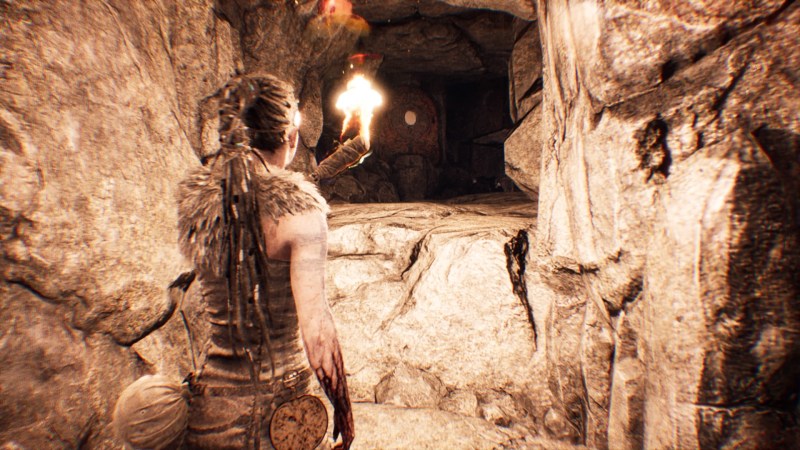
Open the left gate and turn left to find the rune gate, which you can open now. As soon as you open it start running until the cutscene is triggered.
Once you gain control go right along the edge and pick up a torch from the fire before continuing downstairs. After you cross the balance beam turn left and approach the rune door at the end. As you get closer you will be attacked by few enemies including shield bearers and two duel wielding axe men, pick your torch back up after you clear them and focus on the door. Take the stairs right of the door to light the brazier at the top. The rune is next to you on the left, but it needs to be viewed from the other side so head out to the entrance you came from and turn left before the small waterfall to circle around and spot the rune above eye level.
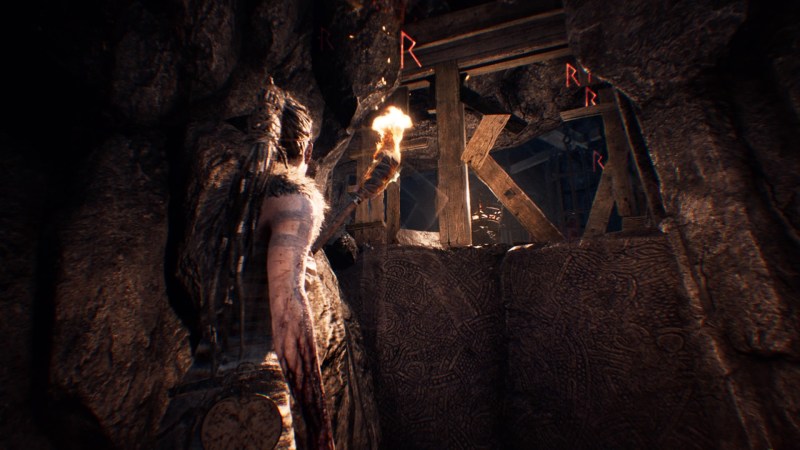
Go through the rune door and you will shortly come to a waterfall you need to cross on your way, you will lose your torch in the process as expected. Start running! Don’t worry, it is a short run to another fire where you are able to light your torch again. Cross the balance beam and turn right to find Lorestone 38/44 behind the metal bars.
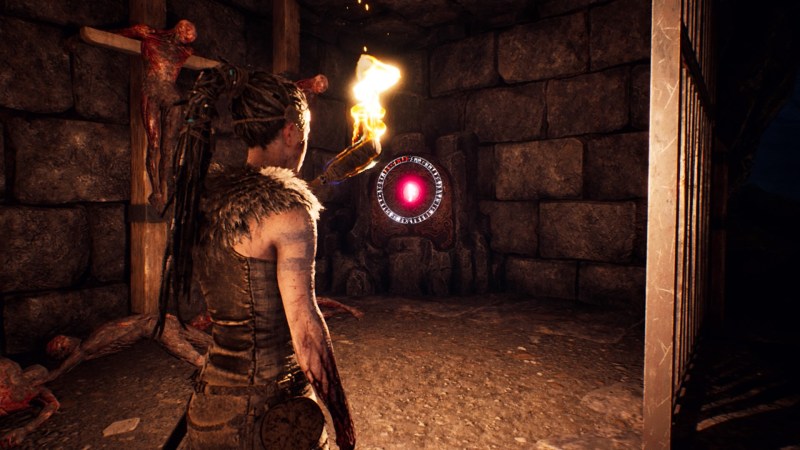
Get back to following the path until you see a rune door you can focus on, there is also Lorestone 39/44 to your left in front of the door.
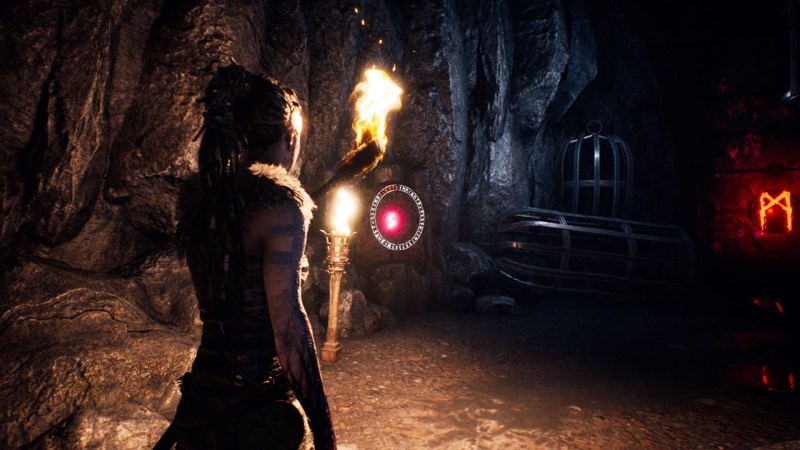
Light the brazier on your left to see a partial rune on the wall behind it, there is one more brazier you need to light to be able to see the complete rune. Turn around and head back to where you dropped down earlier and go through the left passage. At the end of the path light the brazier there so you can use it later, then turn around and go back the way you came. Now, go through the waterfall next to the rune door, you will lose your torch again so turn right and run towards the raised wooden bridge. Senua will crash through it and you will land near the fire you lit moments earlier. Relight your torch, then turn back and the take the stairs up near the waterfall to light the last brazier you need. Go under the same waterfall once more, relight your torch from the fire on the other side and spot the completed rune on the wall behind it.
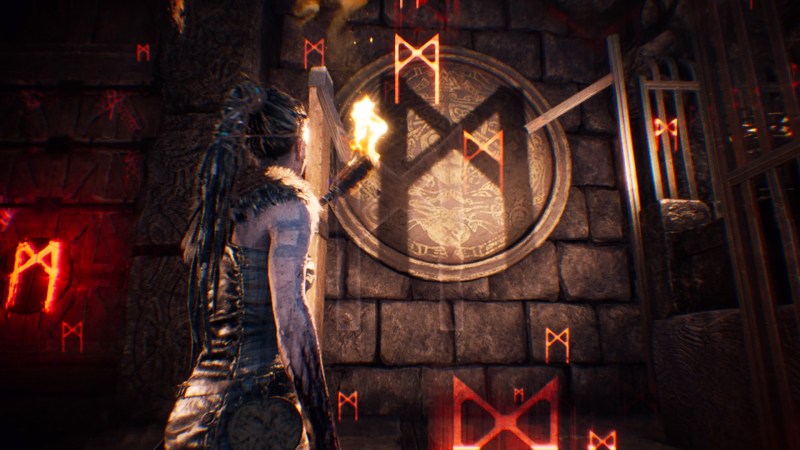
Open the rune door and follow the path behind it, halfway through the tunnel you will find Lorestone 40/44 on your way. Carry on following the tunnels towards the boss fight coming up!
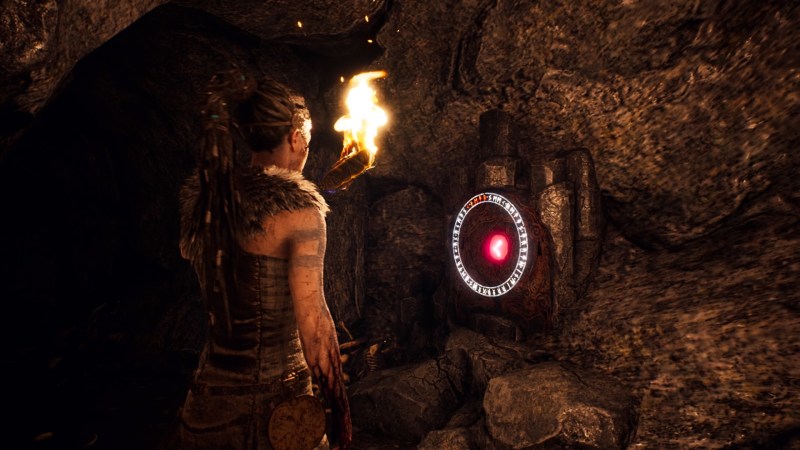
Fenrir is a tough boss and light attacks does not seem to do much damage to him, the best strategy is to dodge his attacks and then land a heavy hit or two when you can. I would not recommend parrying as most his attacks are unblockable. Most importantly, he sometime spews shadows from his mouth, avoid getting hit by that or you will be drowned in darkness and visions and consequently lose visibility momentarily. So, use heavy attacks and I suggest you save up your focus mirror to use in the point of the fight where Fenrir retracts into the darkness then lunges at you from a random direction.
After Fenrir falls you will go into a long cutscene. As you gain control head upstairs to large area with a long bridge down in the cantre, the entire objective of this section is to build that bridge so you can cross it. Turn left and go up the ladder, follow the path until you reach the T junction at the end. Head right first to find Lorestone 41/44, then take the stairs going up. At the top you will end up on a ledge where you can focus on the bridge to fix a portion of it. On your way back the same route you will be attacked by enemies in the round room with hooks hanging from the ceiling before you can head down.
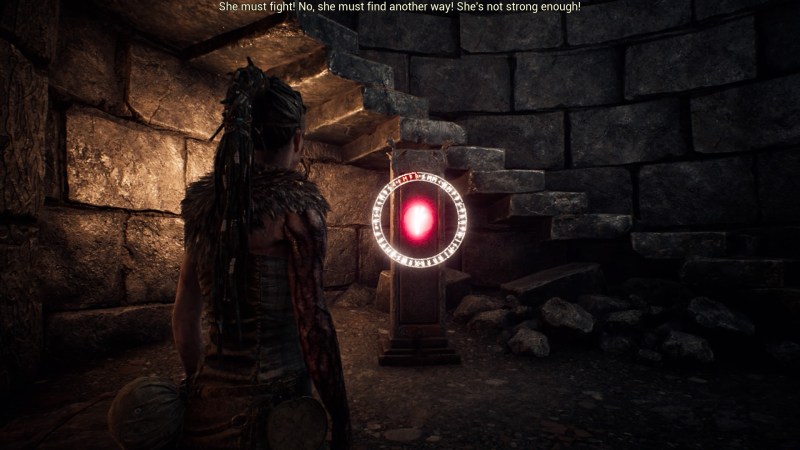
Carry on your way to the other branch of the T junction, turn right and after passing by the bridge take the stairs all the way to the top. Look towards the ridge and focus on it to fix another portion of it. Next, head down into the bridge and stop halfway to the broken section and look towards the area in the middle of the stairs you just used and focus on the entrance in the stonewall there to open a way for you to advance.
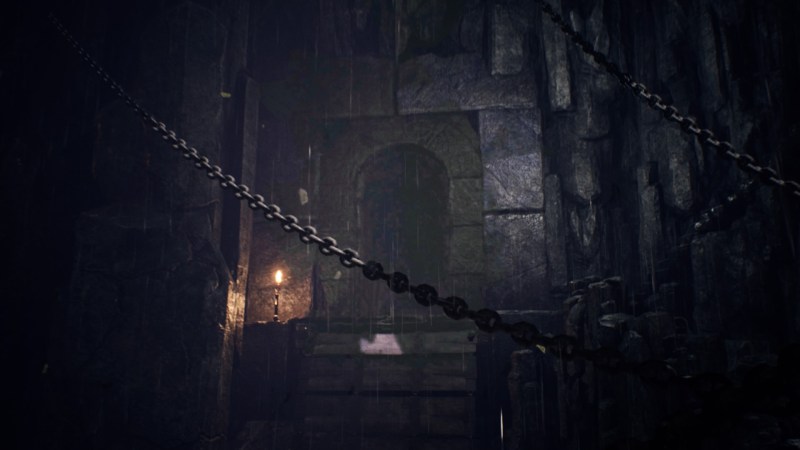
First before going there, turn around and head away from the ridge to find Lorestone 42/44 on your right near the big, closed metal gate you cannot open. Head up the same stairs again and go through the doorway you just made appear. At the bottom of the stairs turn right to find Lorestone 43/44 behind the metal bars.
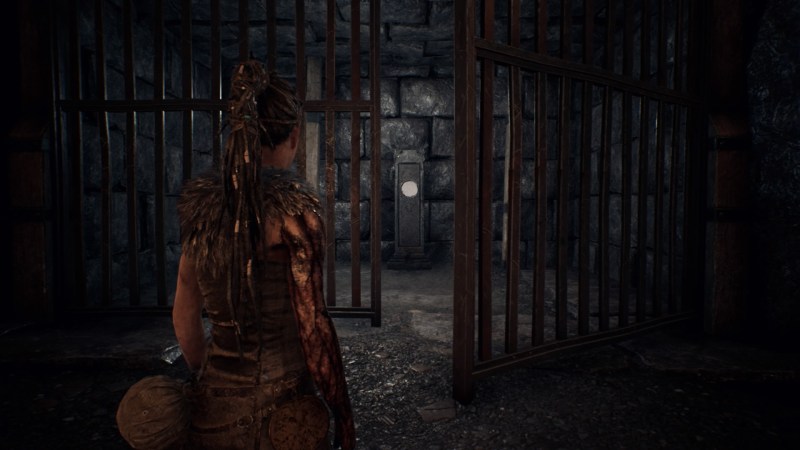
Turn around and crouch down under the broken section in the wall on your right, then stand up and unlock the small gate to your left before continuing up the stairs. Do not go through the first open door you see yet but instead continue going all the way to the top to find the last lorestone of the game, Lorestone 44/44. Congrats!
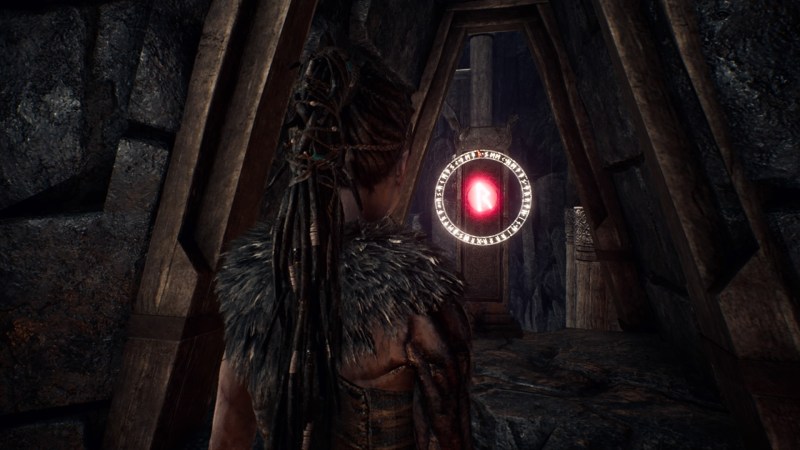
Now, you can go back to the opening you skipped earlier halfway down the stairs. You will be attacked by enemies in the round room next, so be prepared. After the fight is done approach the ledge at the end of the room, here you will be able to fix the last portion of the bridge with focus. Turn around and track your way back to the now fully rebuilt bridge. You will be attacked by multiple enemies as you cross the bridge, be careful as the fight can be tough. Behind the gate there is a mirror like portal in front you, go through it leaving the voices behind. Proceed towards the light at the end of the walkway to see Druth’s ending, if you have collected all of the 44 lorestones available in the game.
Hela’s Sanctum
After the cut scene ends you will have your sword in hand, so be ready to fight. Hela will be visible in the distance speaking to you the whole time. Run towards it, to reach the first stage of the fight.
When the fight is over, continue to the next bridge again to reach the final fight. Once you get to the final platform, Hela will be there in the centre and few other enemies will spawn all around you. You can attempt to fight them if you want but to finish the game listen to the voice and stop fighting, give up!

Very informative guide with plenty of photos to make sure you don’t miss out on anything. Great work!!
LikeLiked by 1 person